Advanced Jewelry Design with Computer
- English
- 30 Hours
- Access on mobile, laptop and desktop
- Certificate of Completion
- English
- 30 Hours
- Access on mobile, laptop and desktop
- Certificate of Completion
Course Overview
HOURS
NUMBER OF SESSIONS
HOURS
THE DURATION OF EACH SESSION
SESSION
NUMBER OF SESSIONS
About the Course
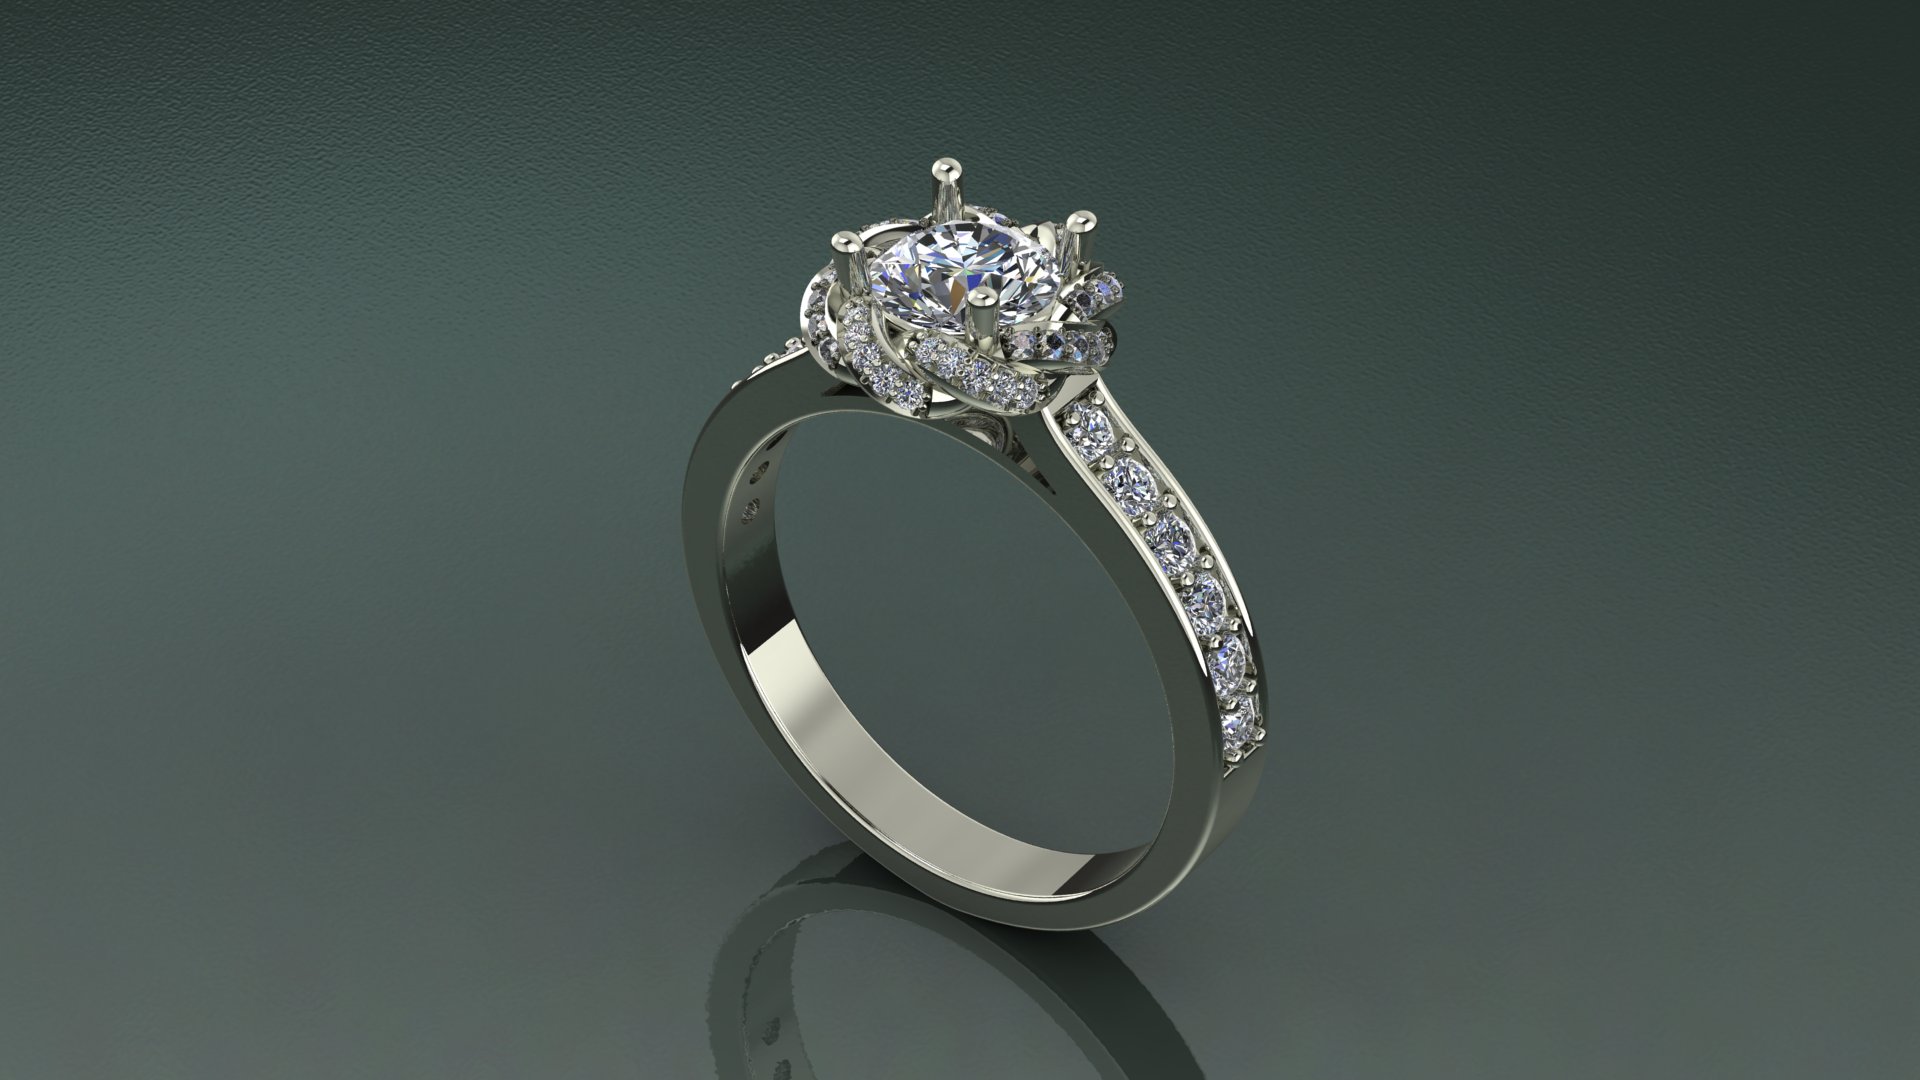
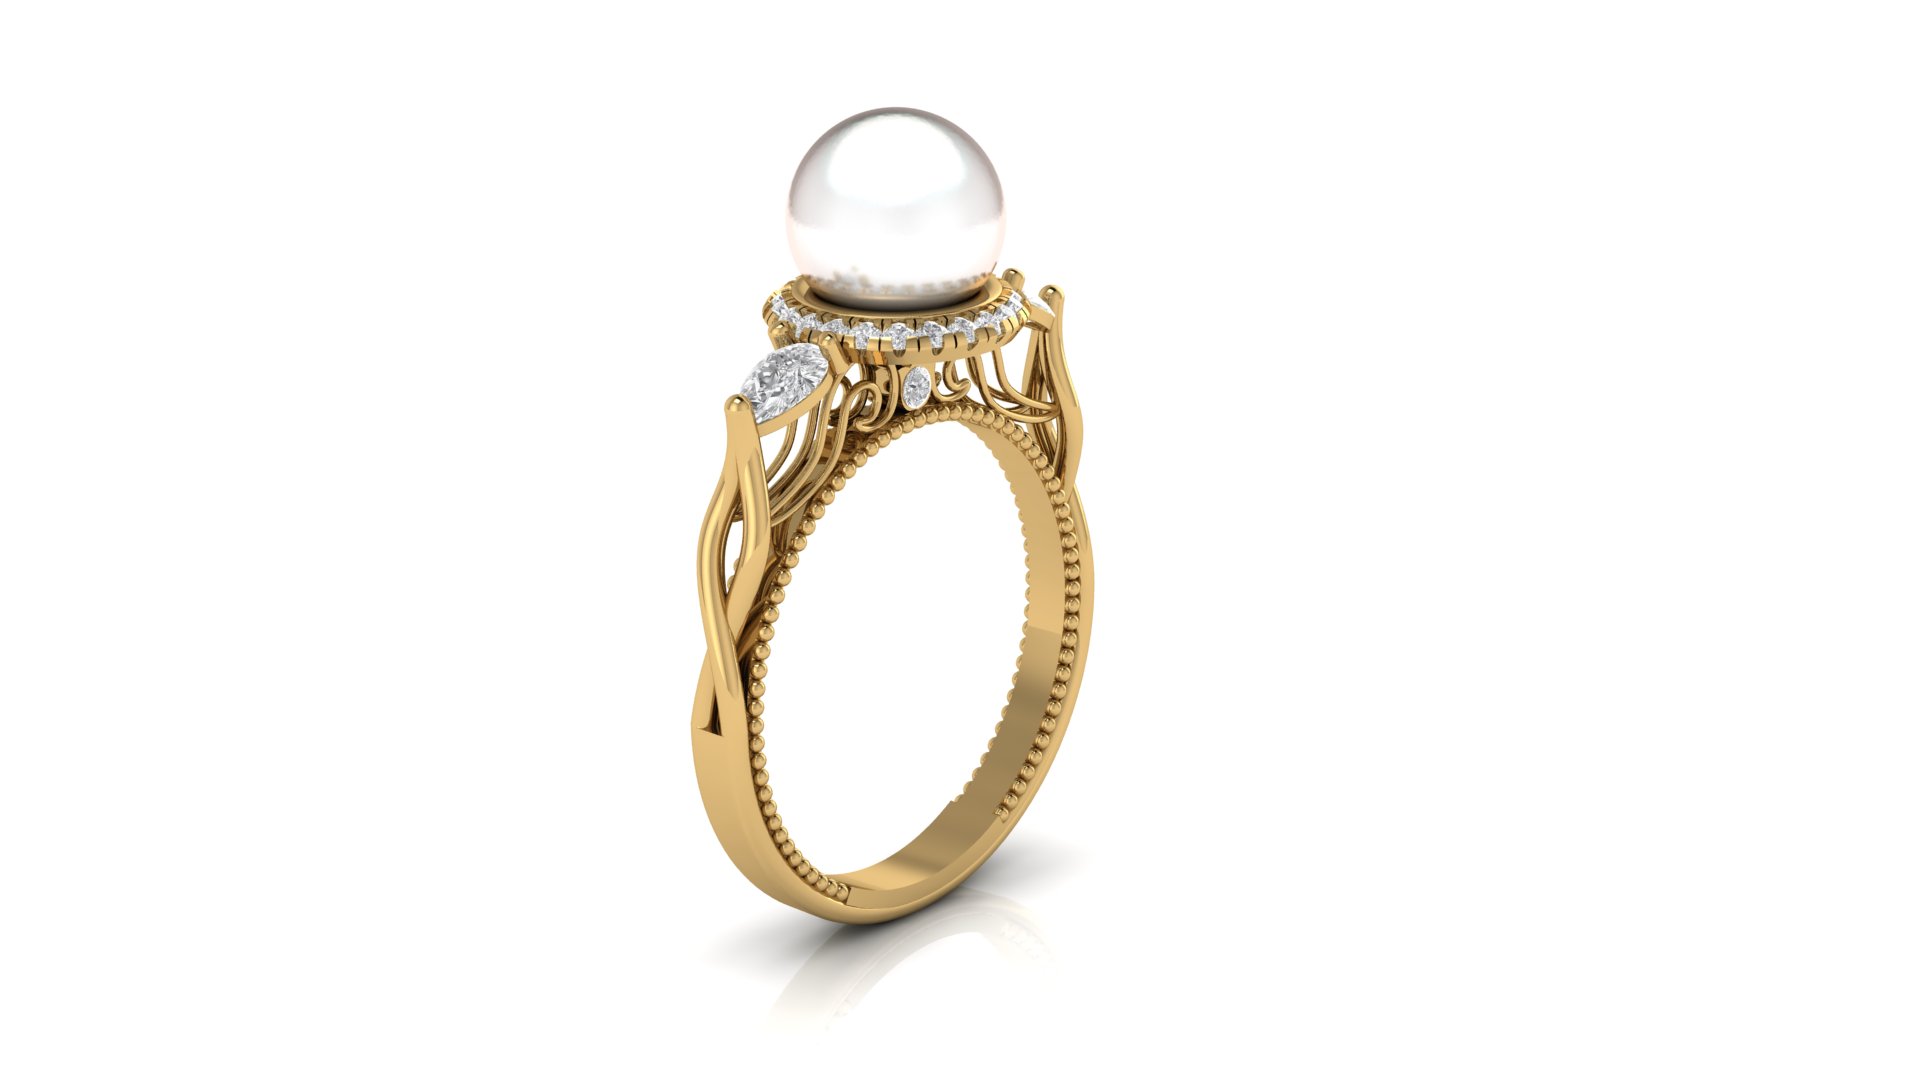
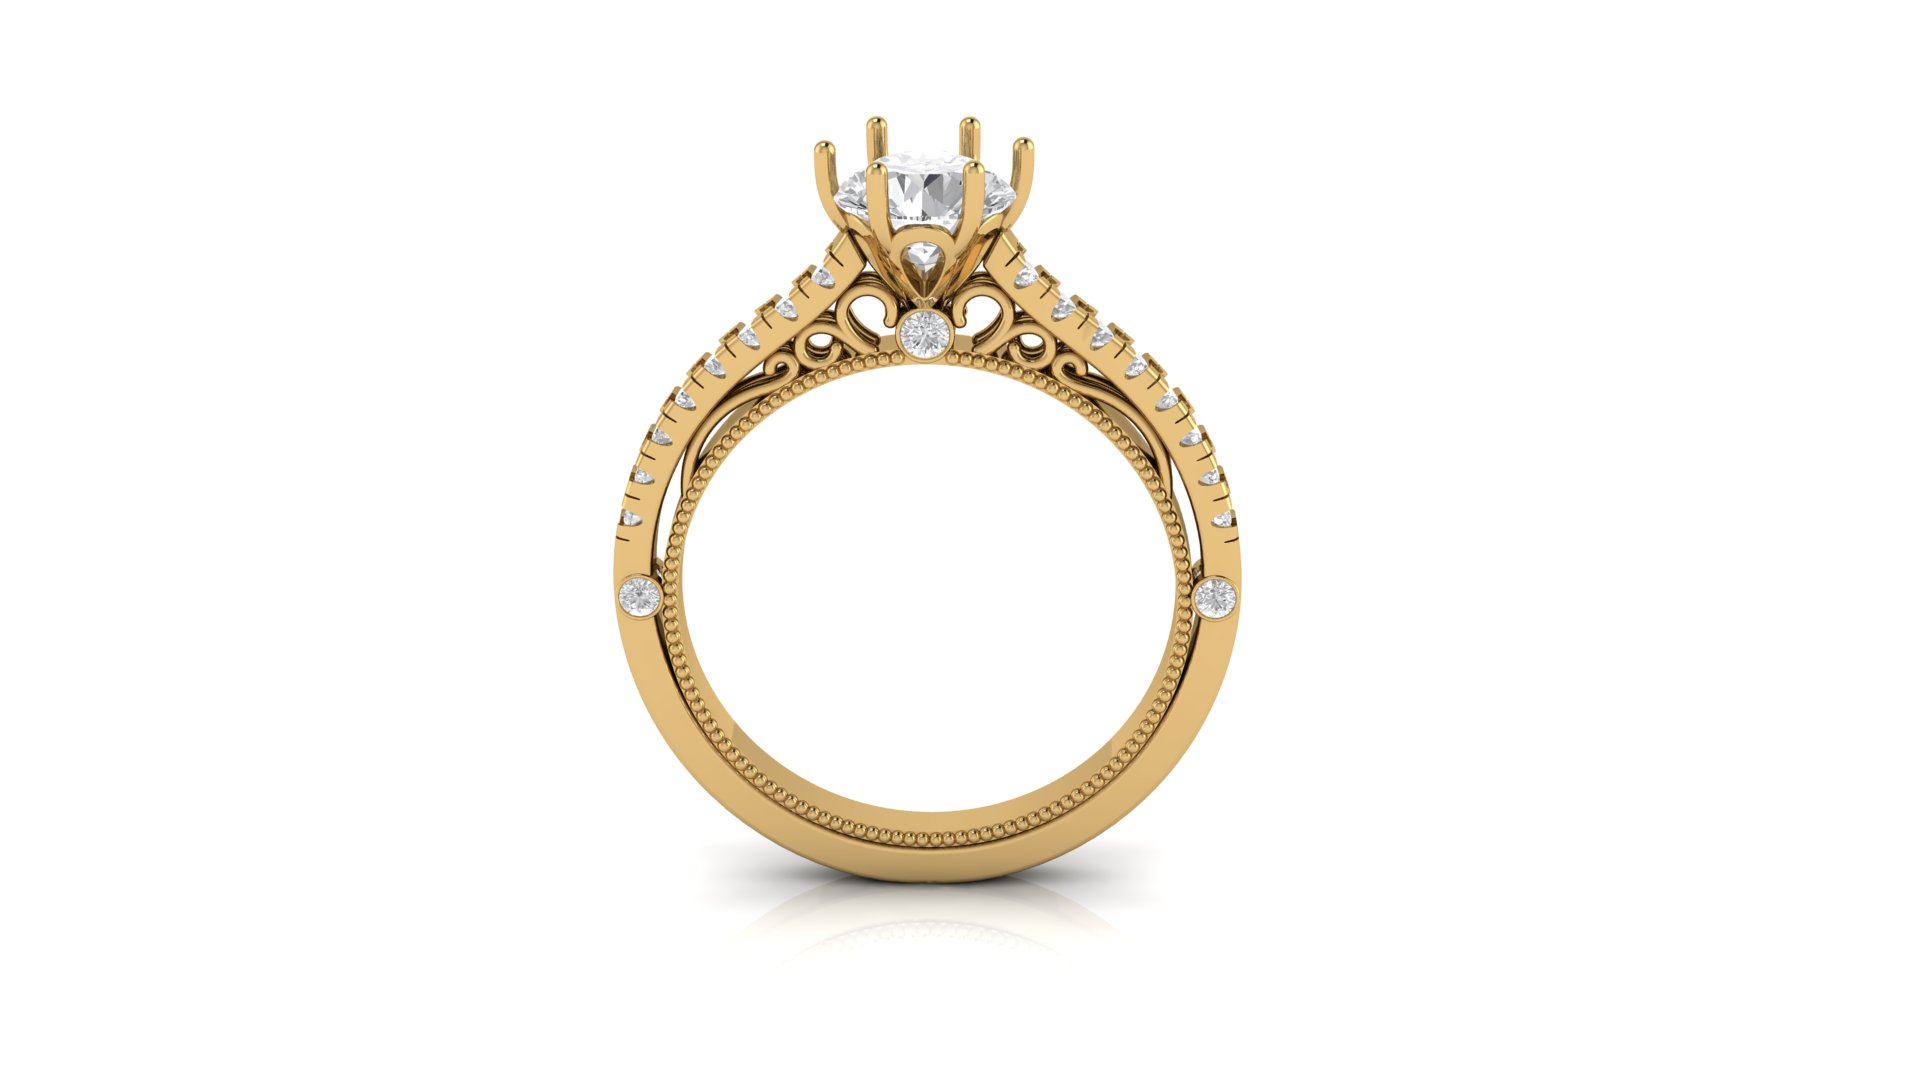
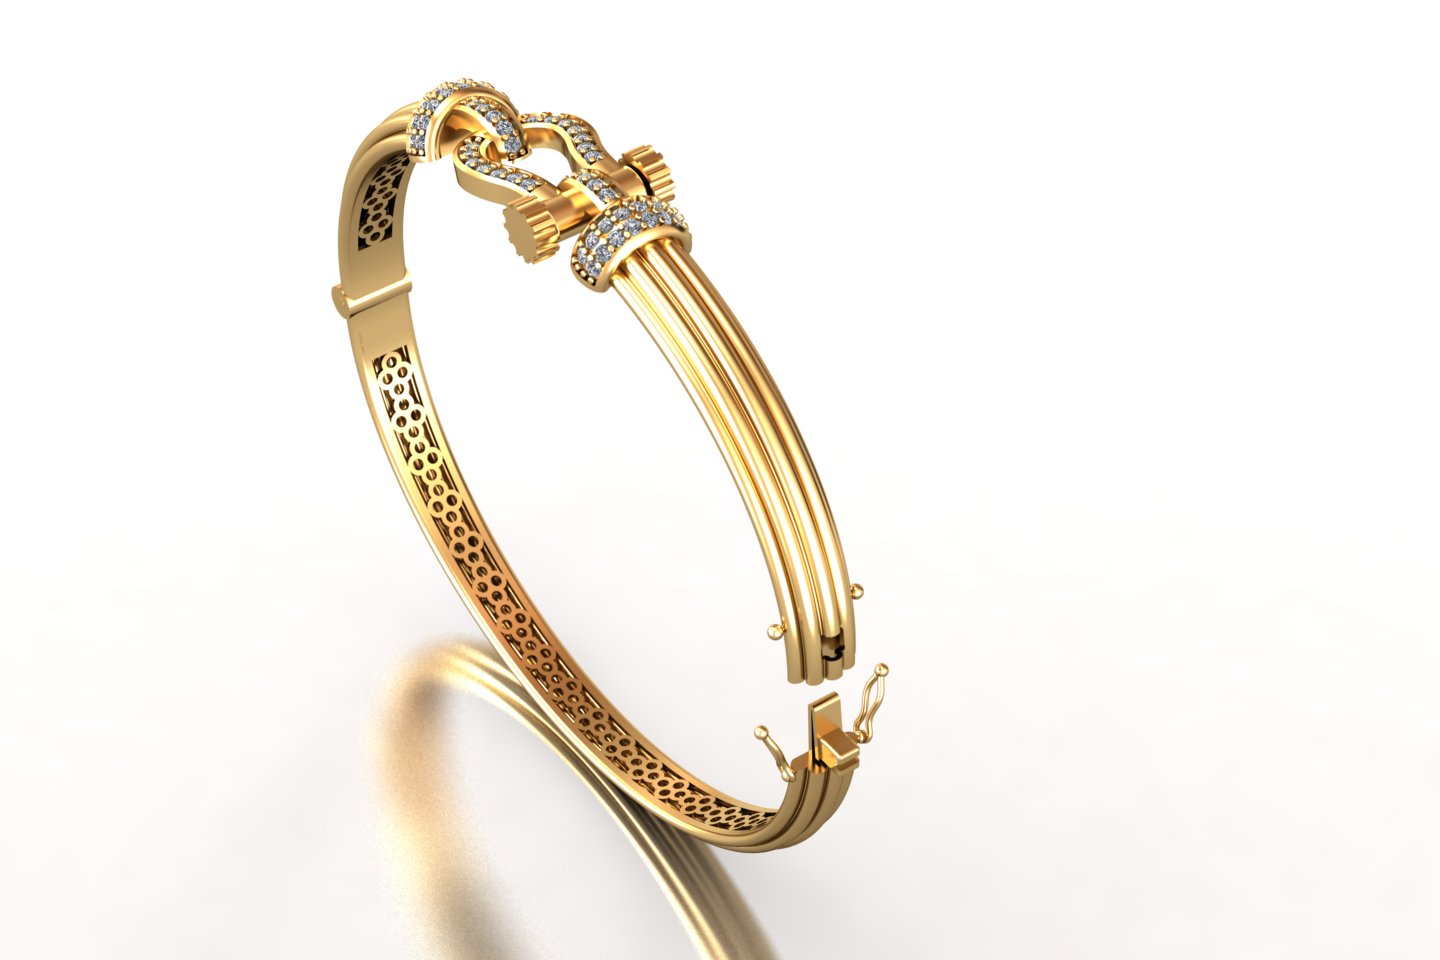
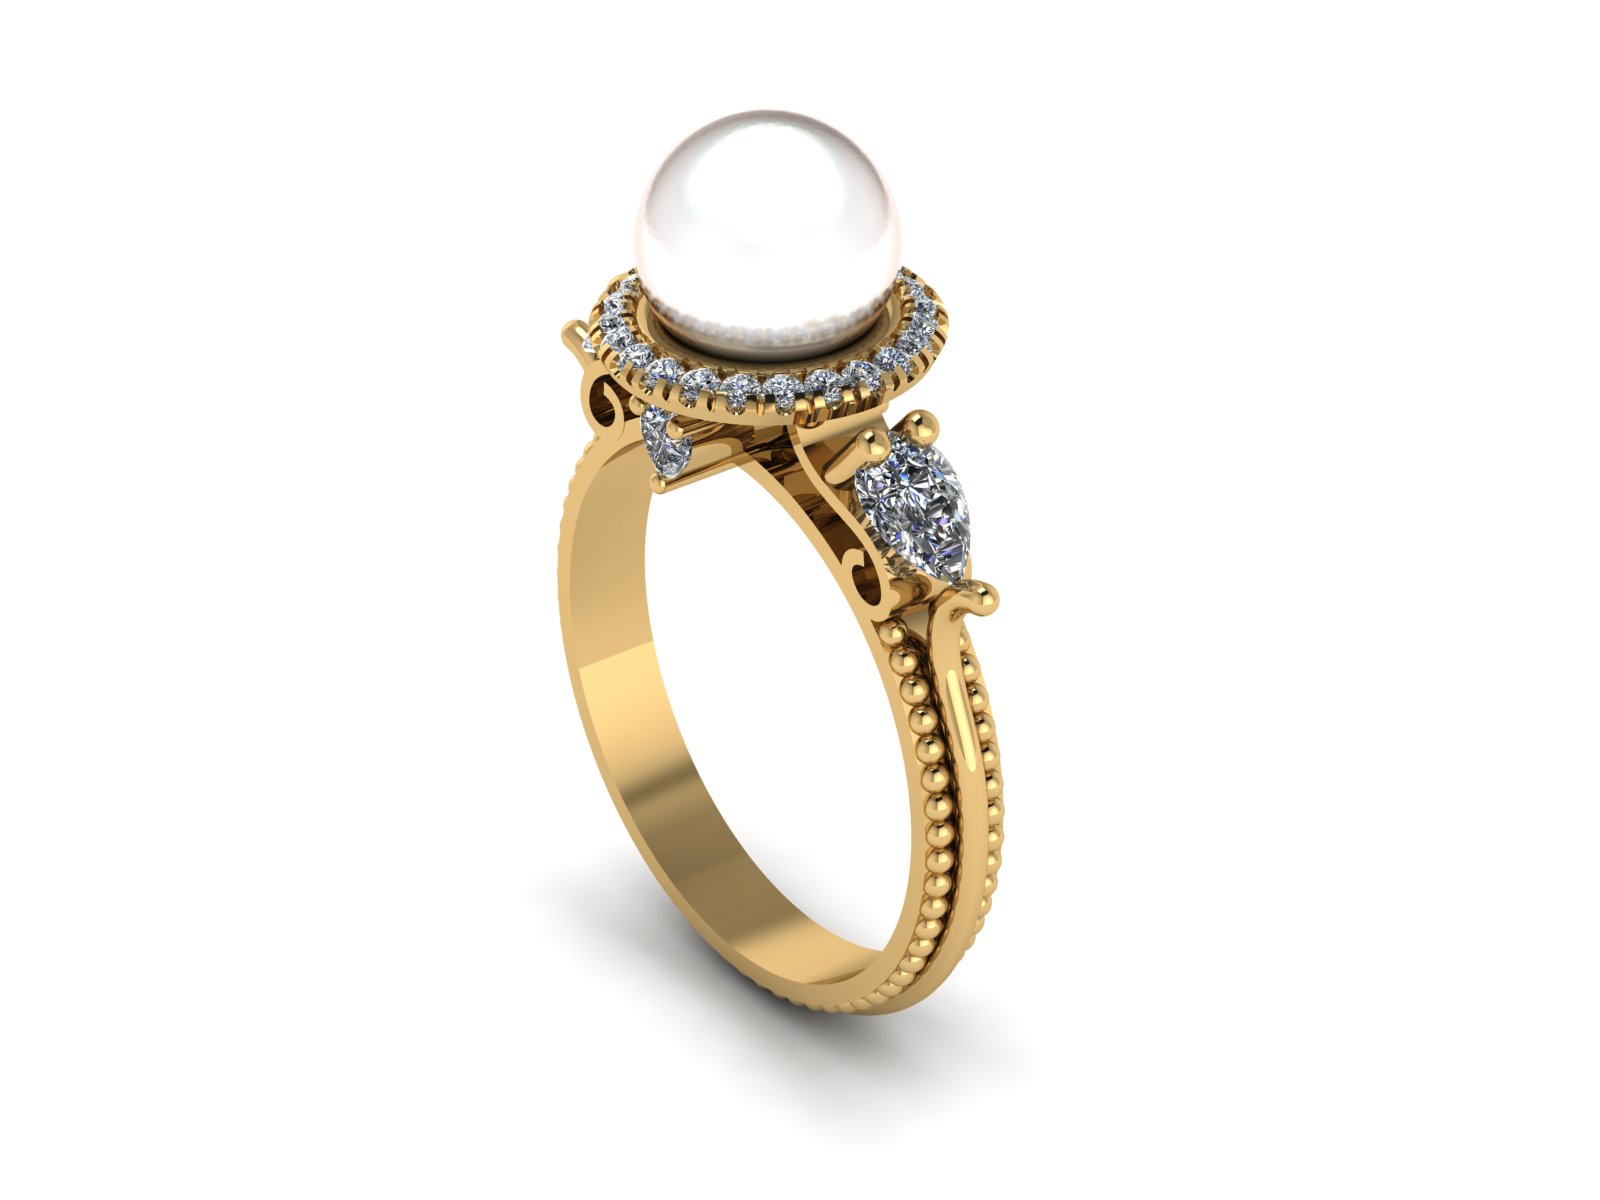
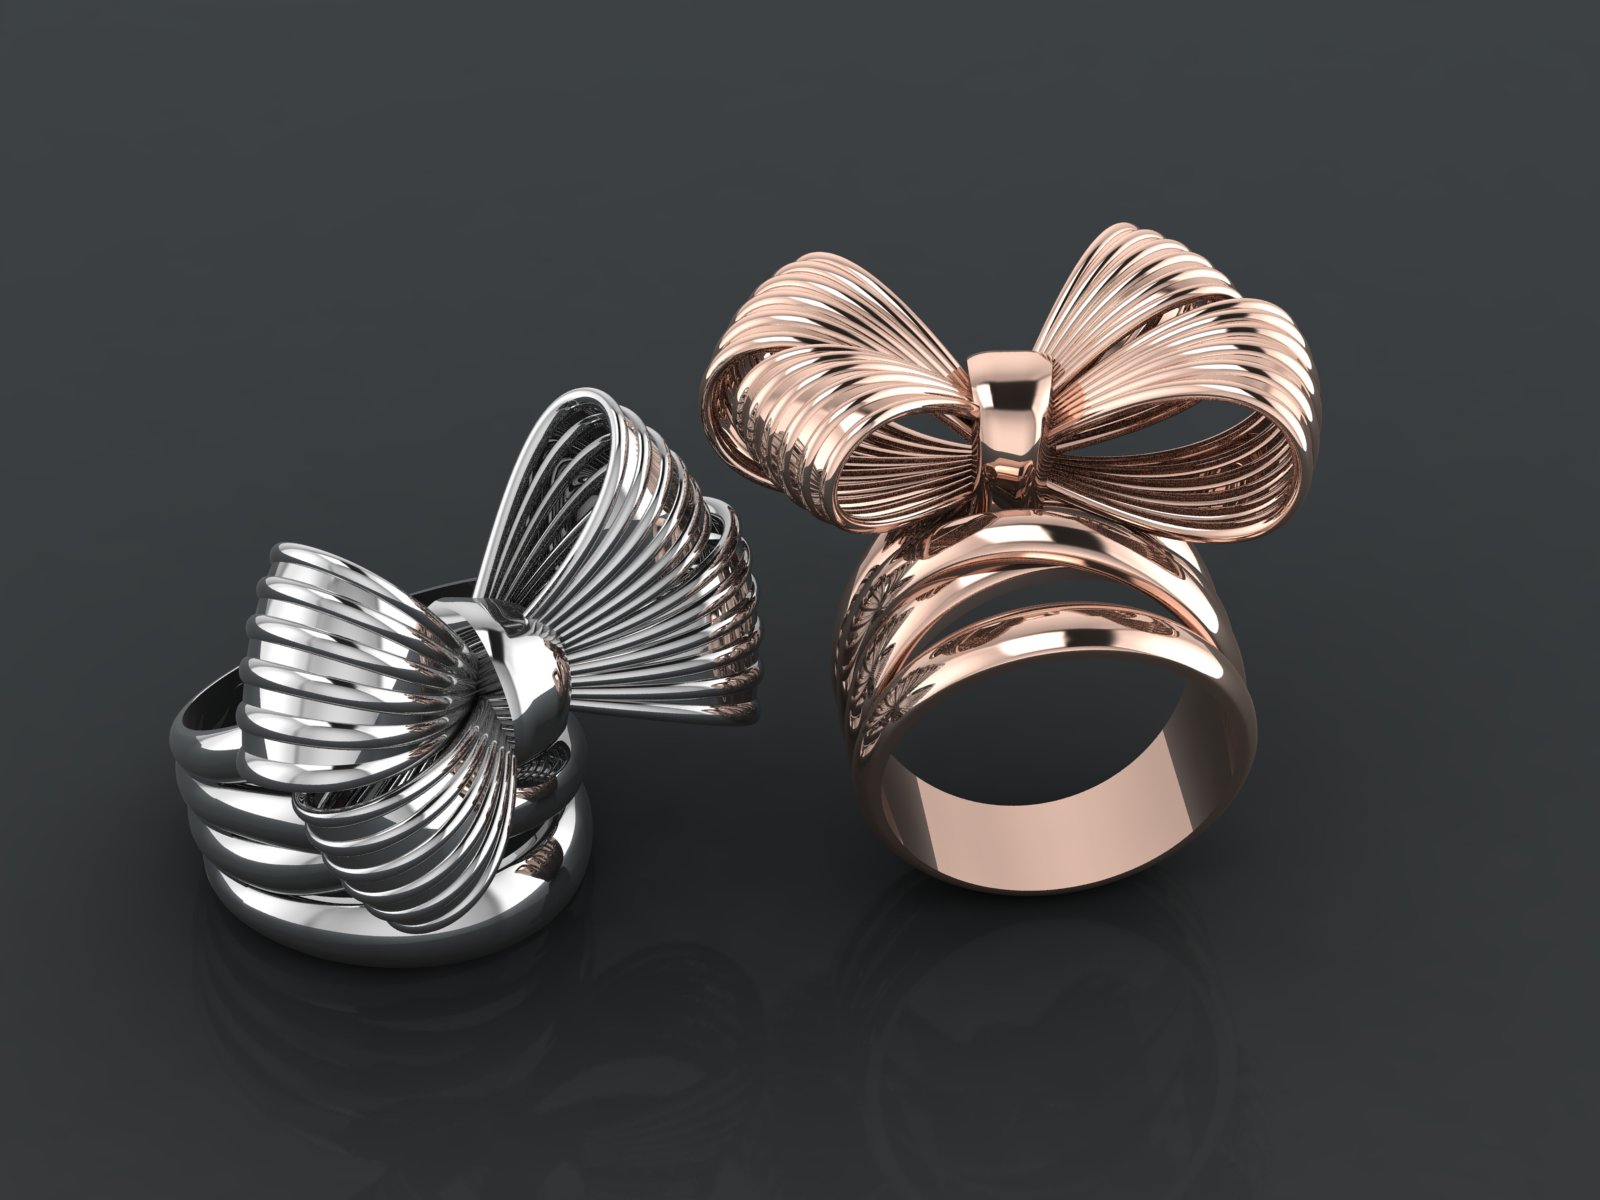
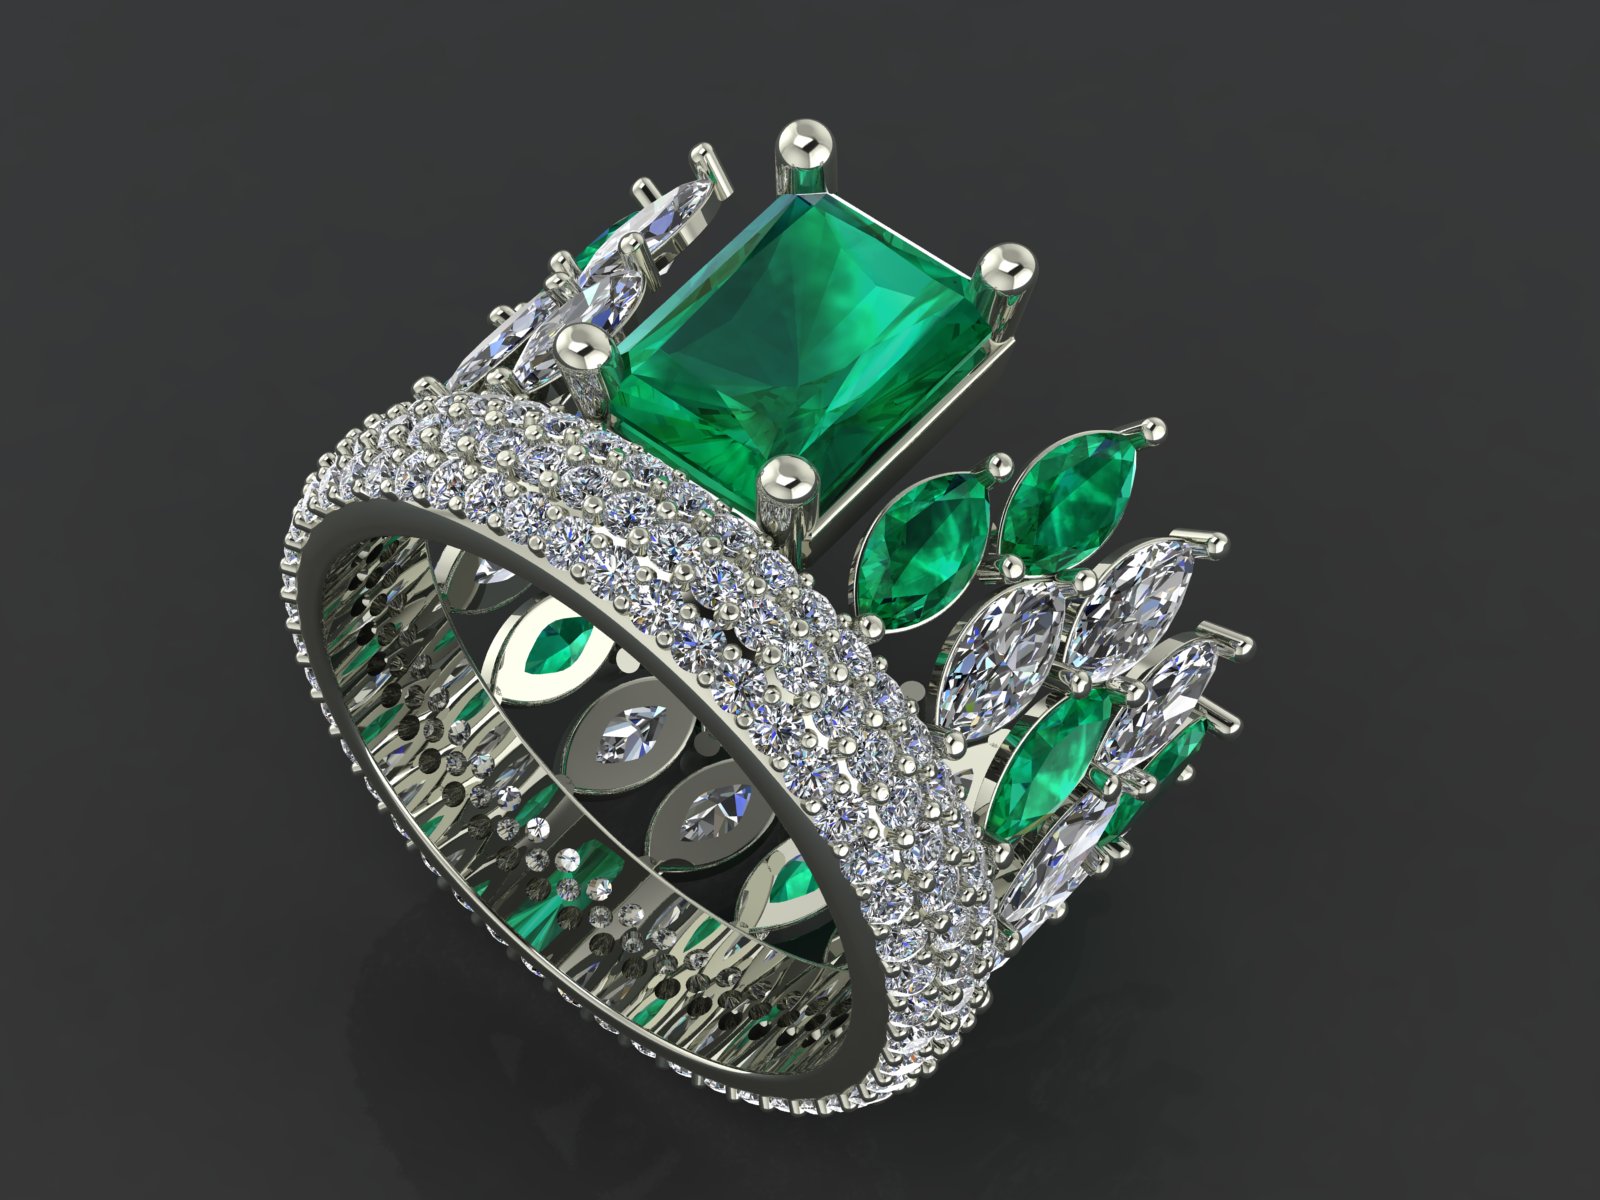
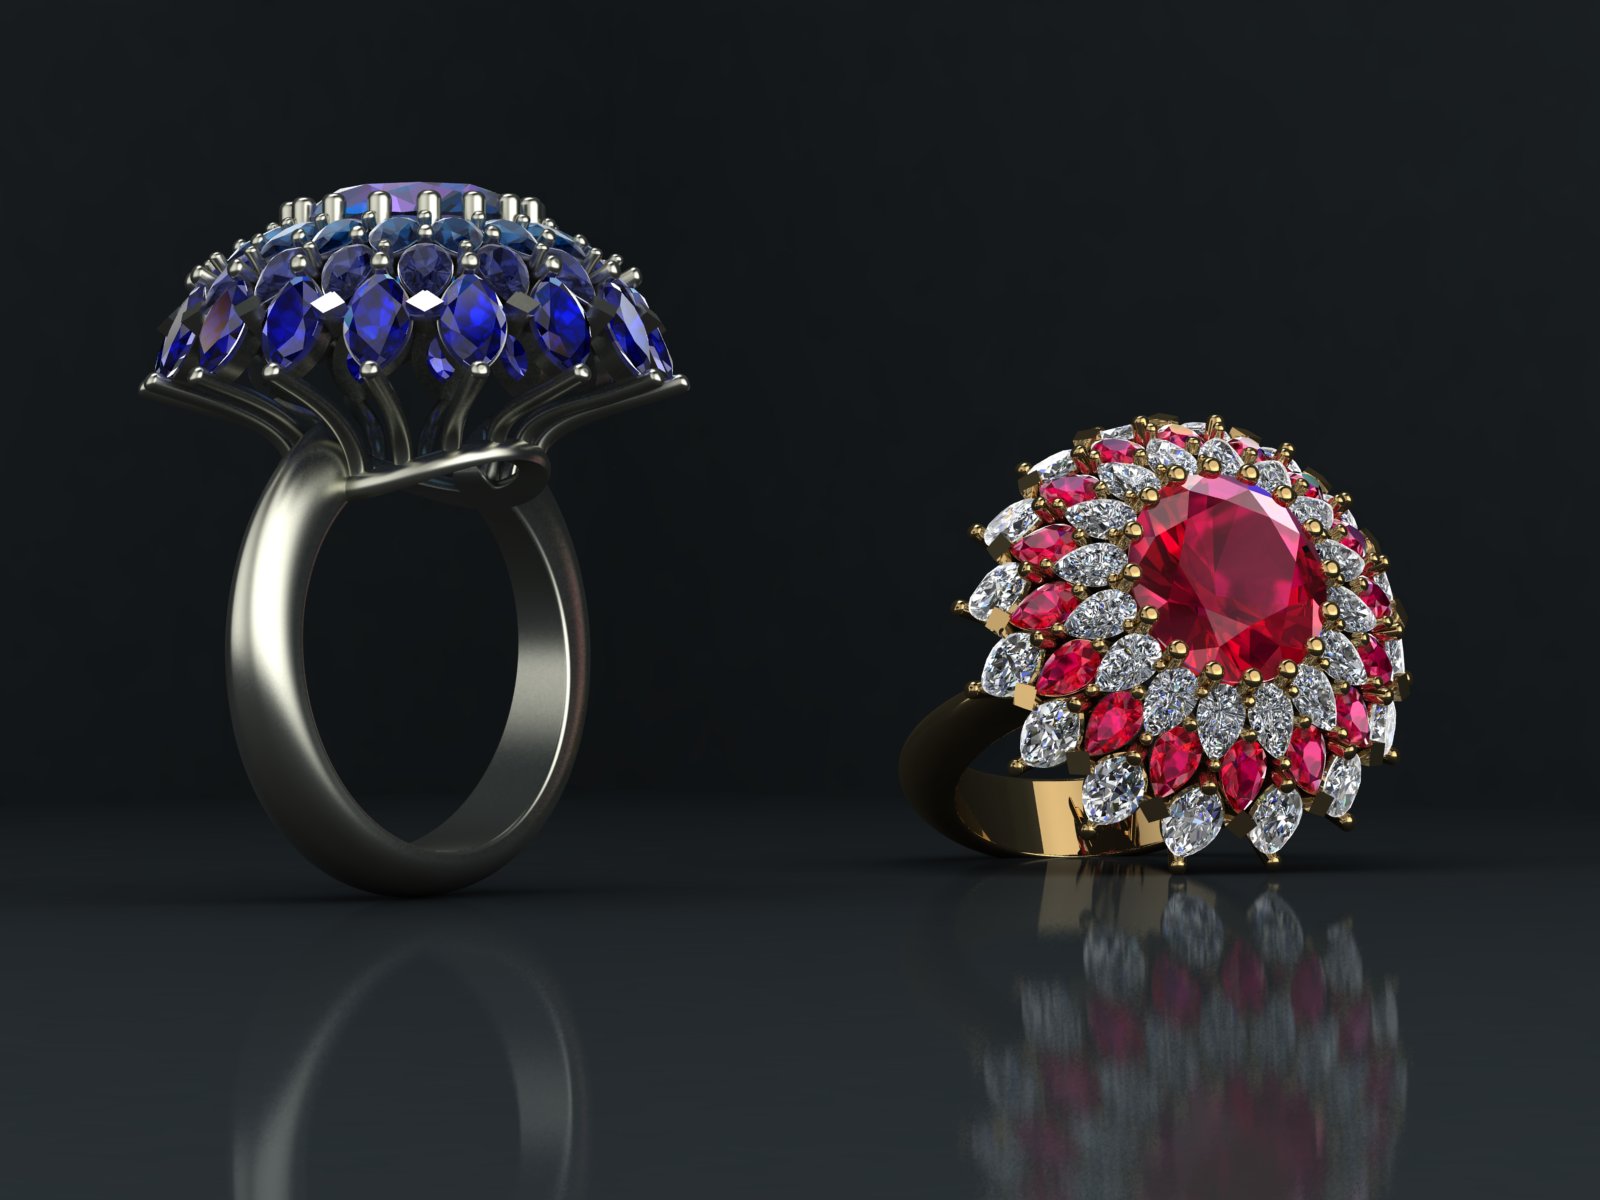
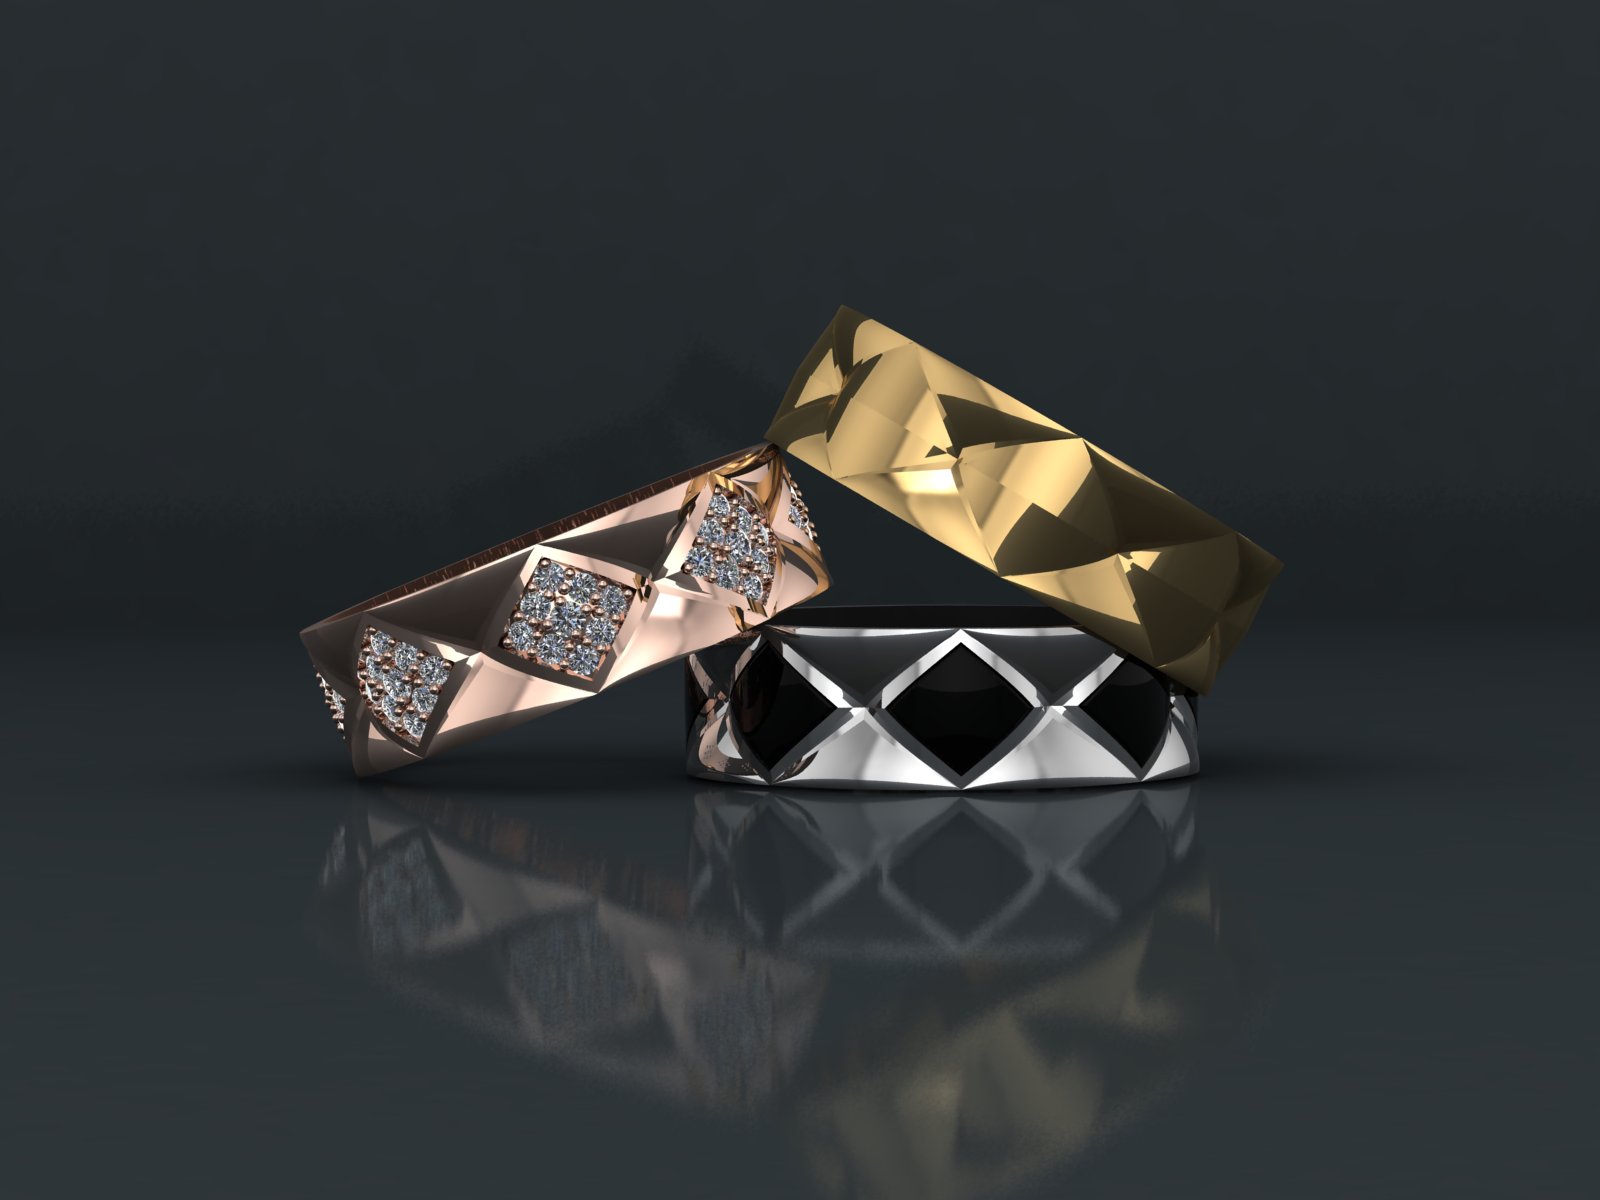
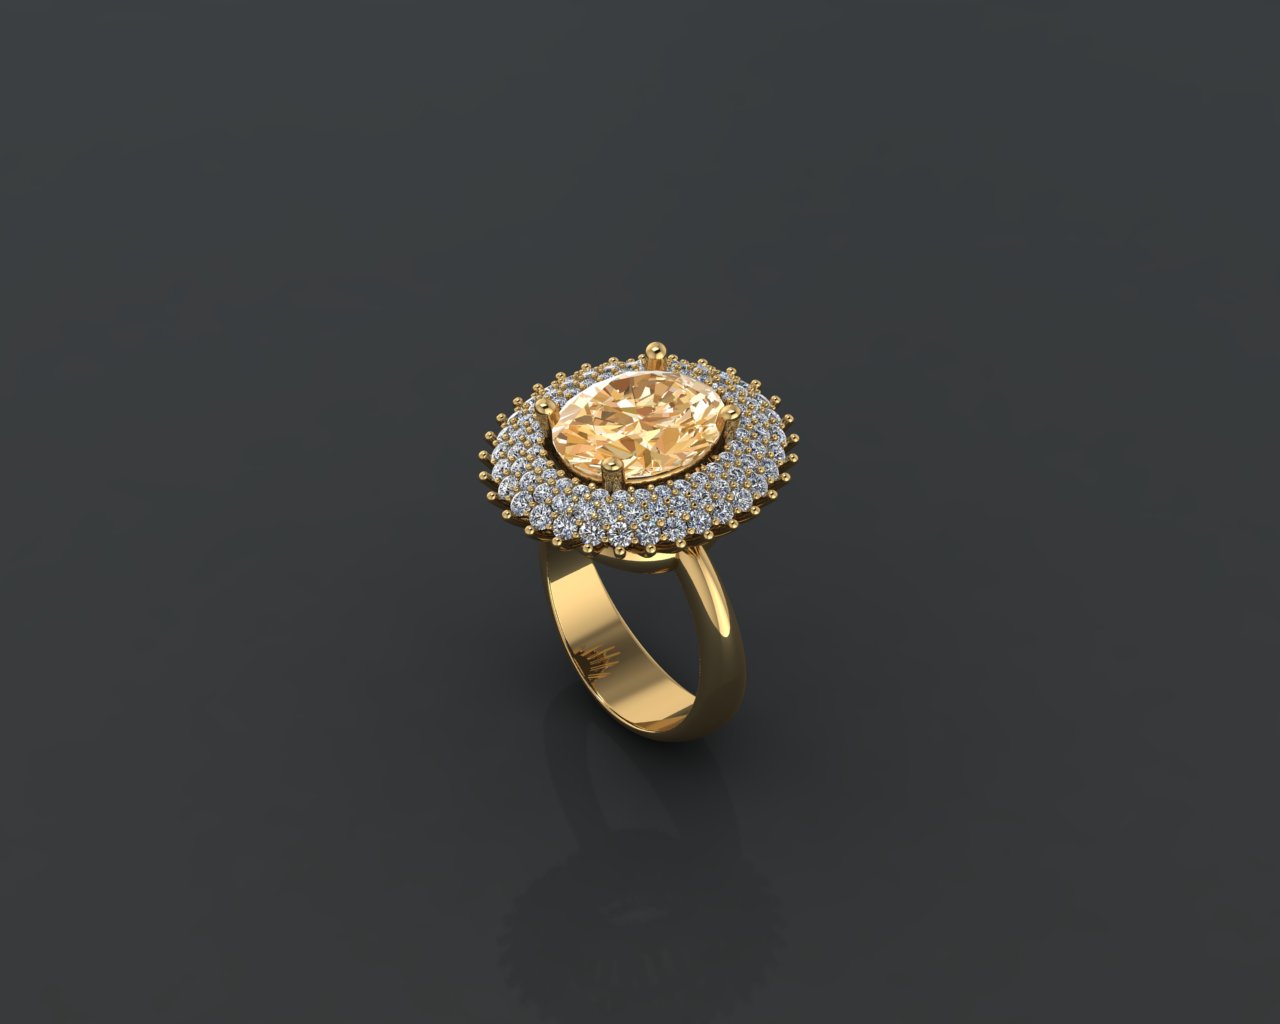
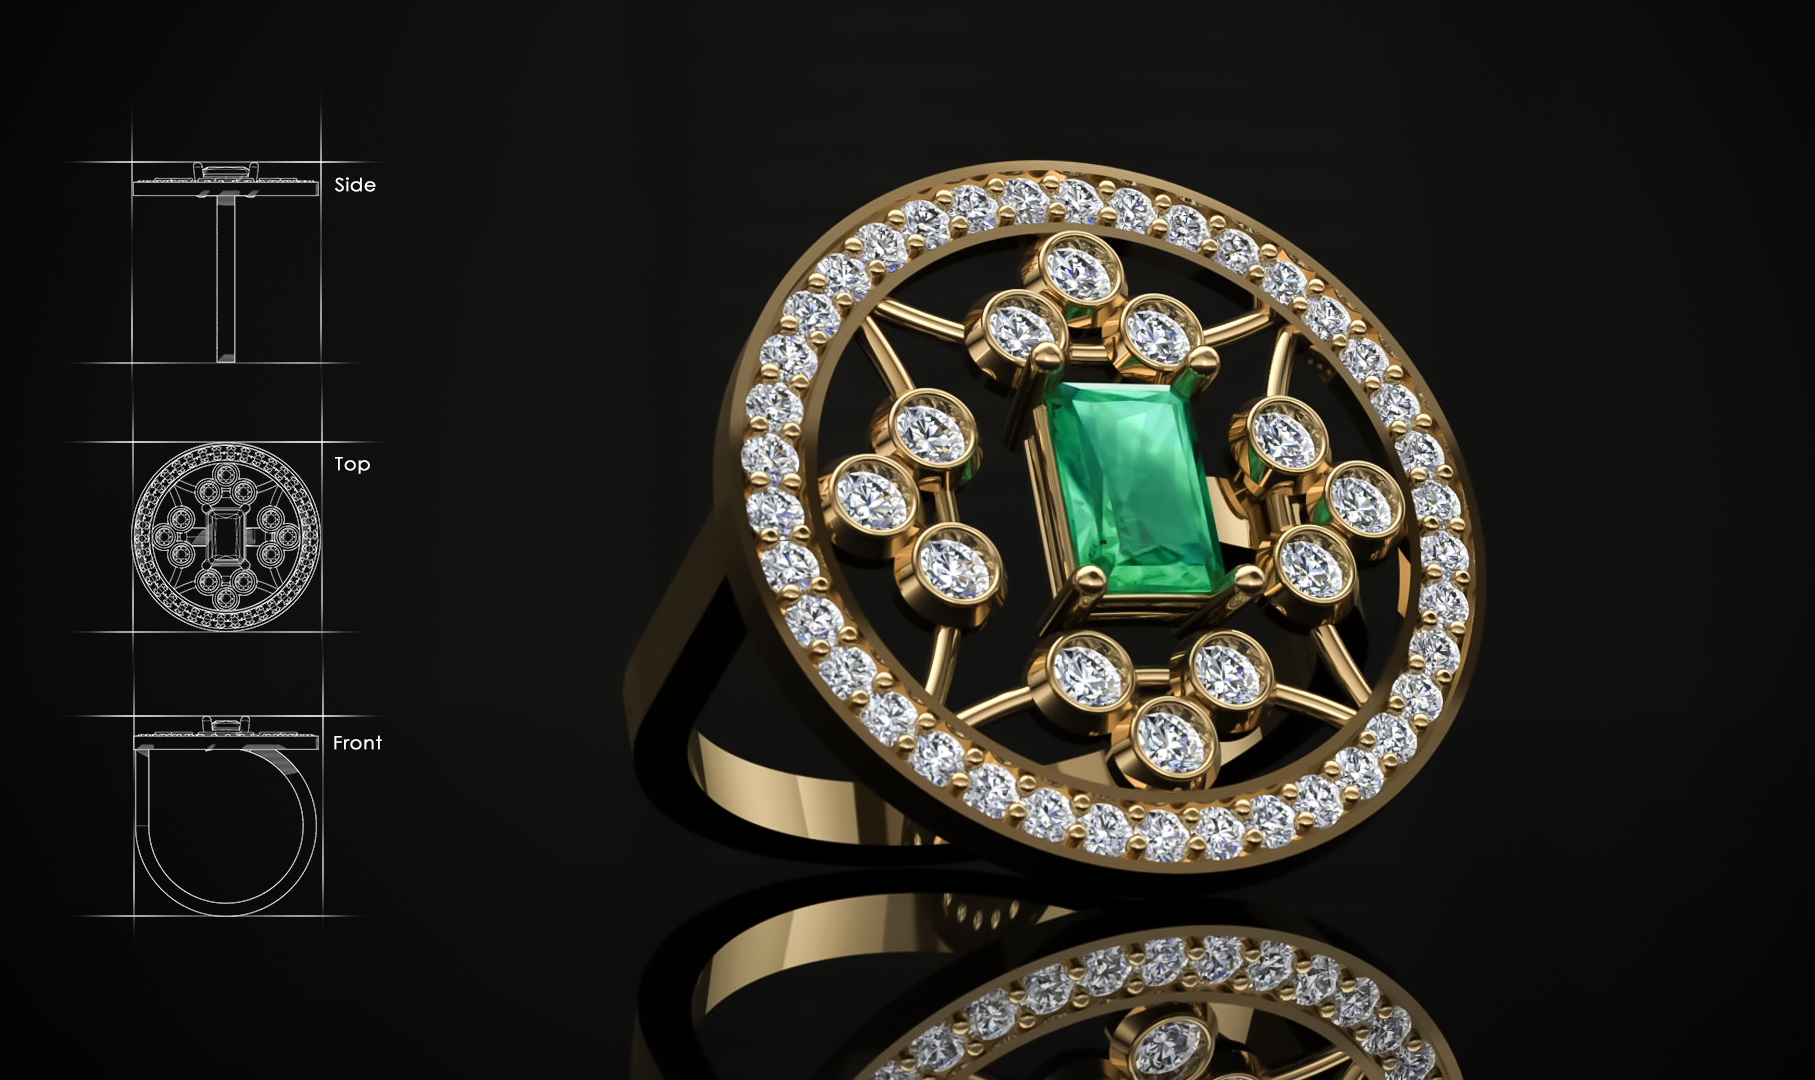
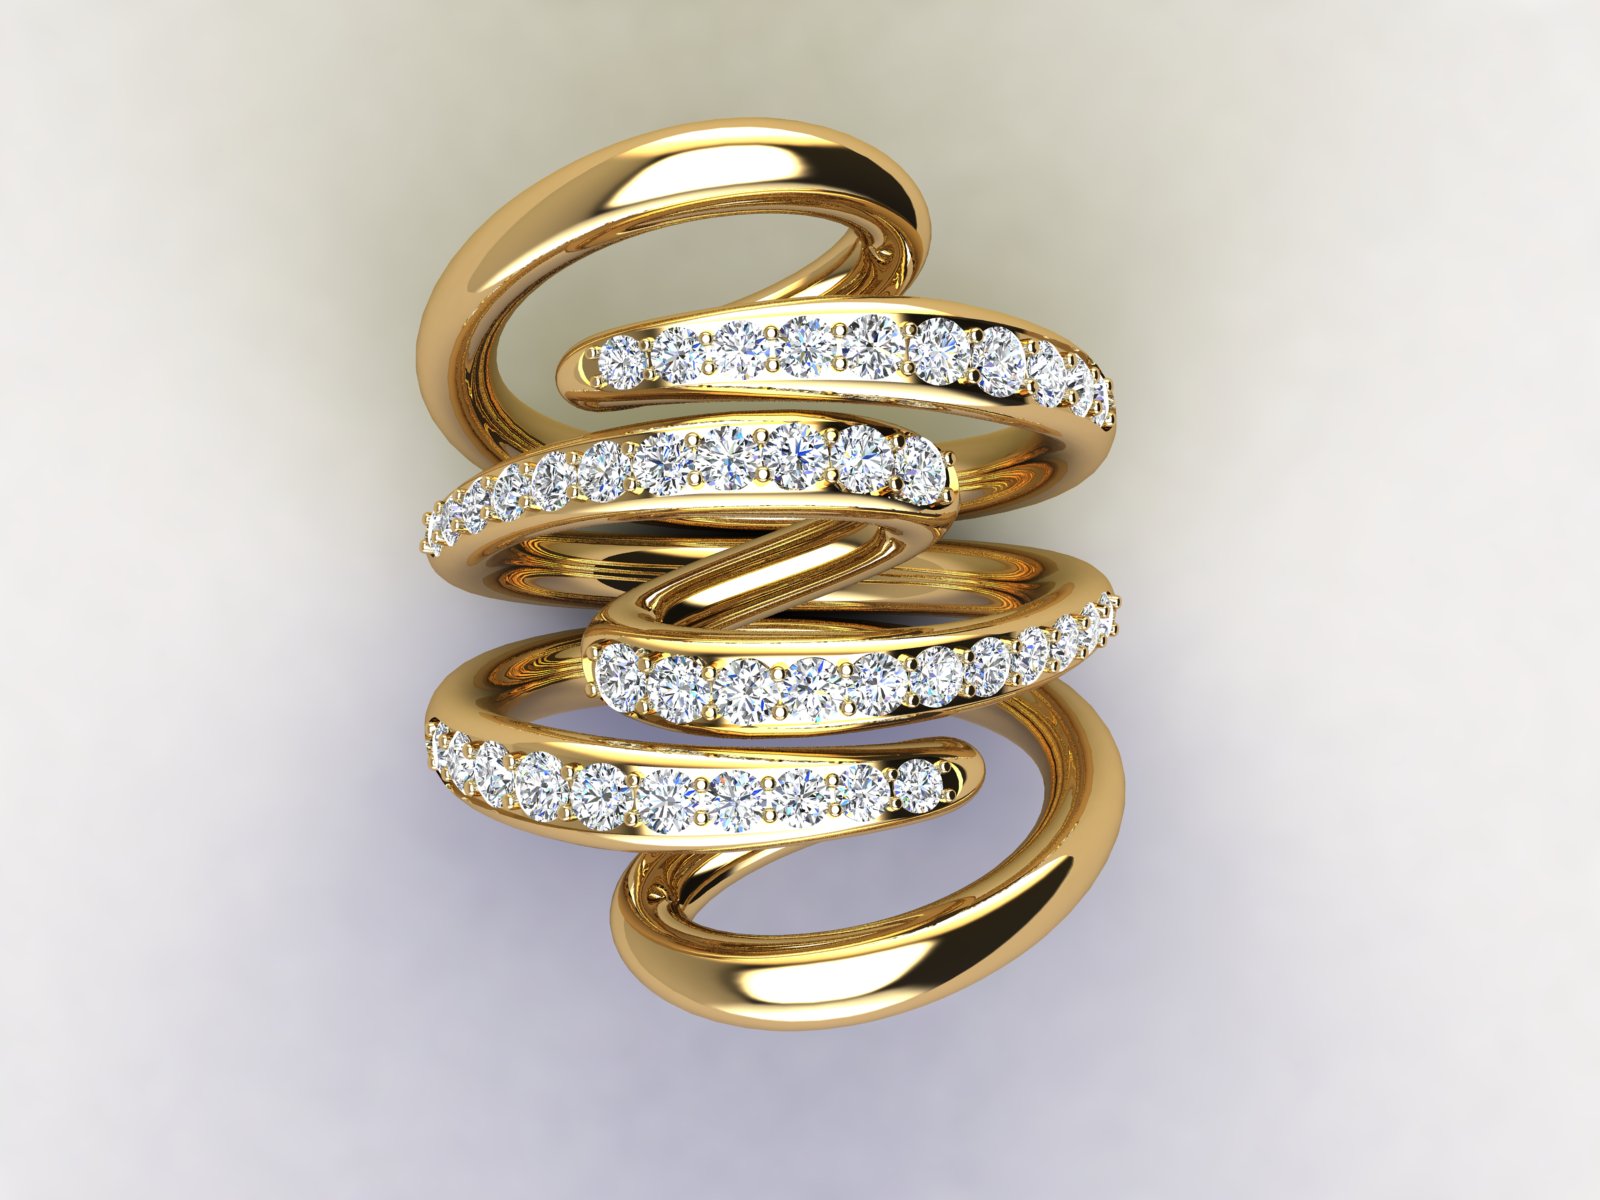
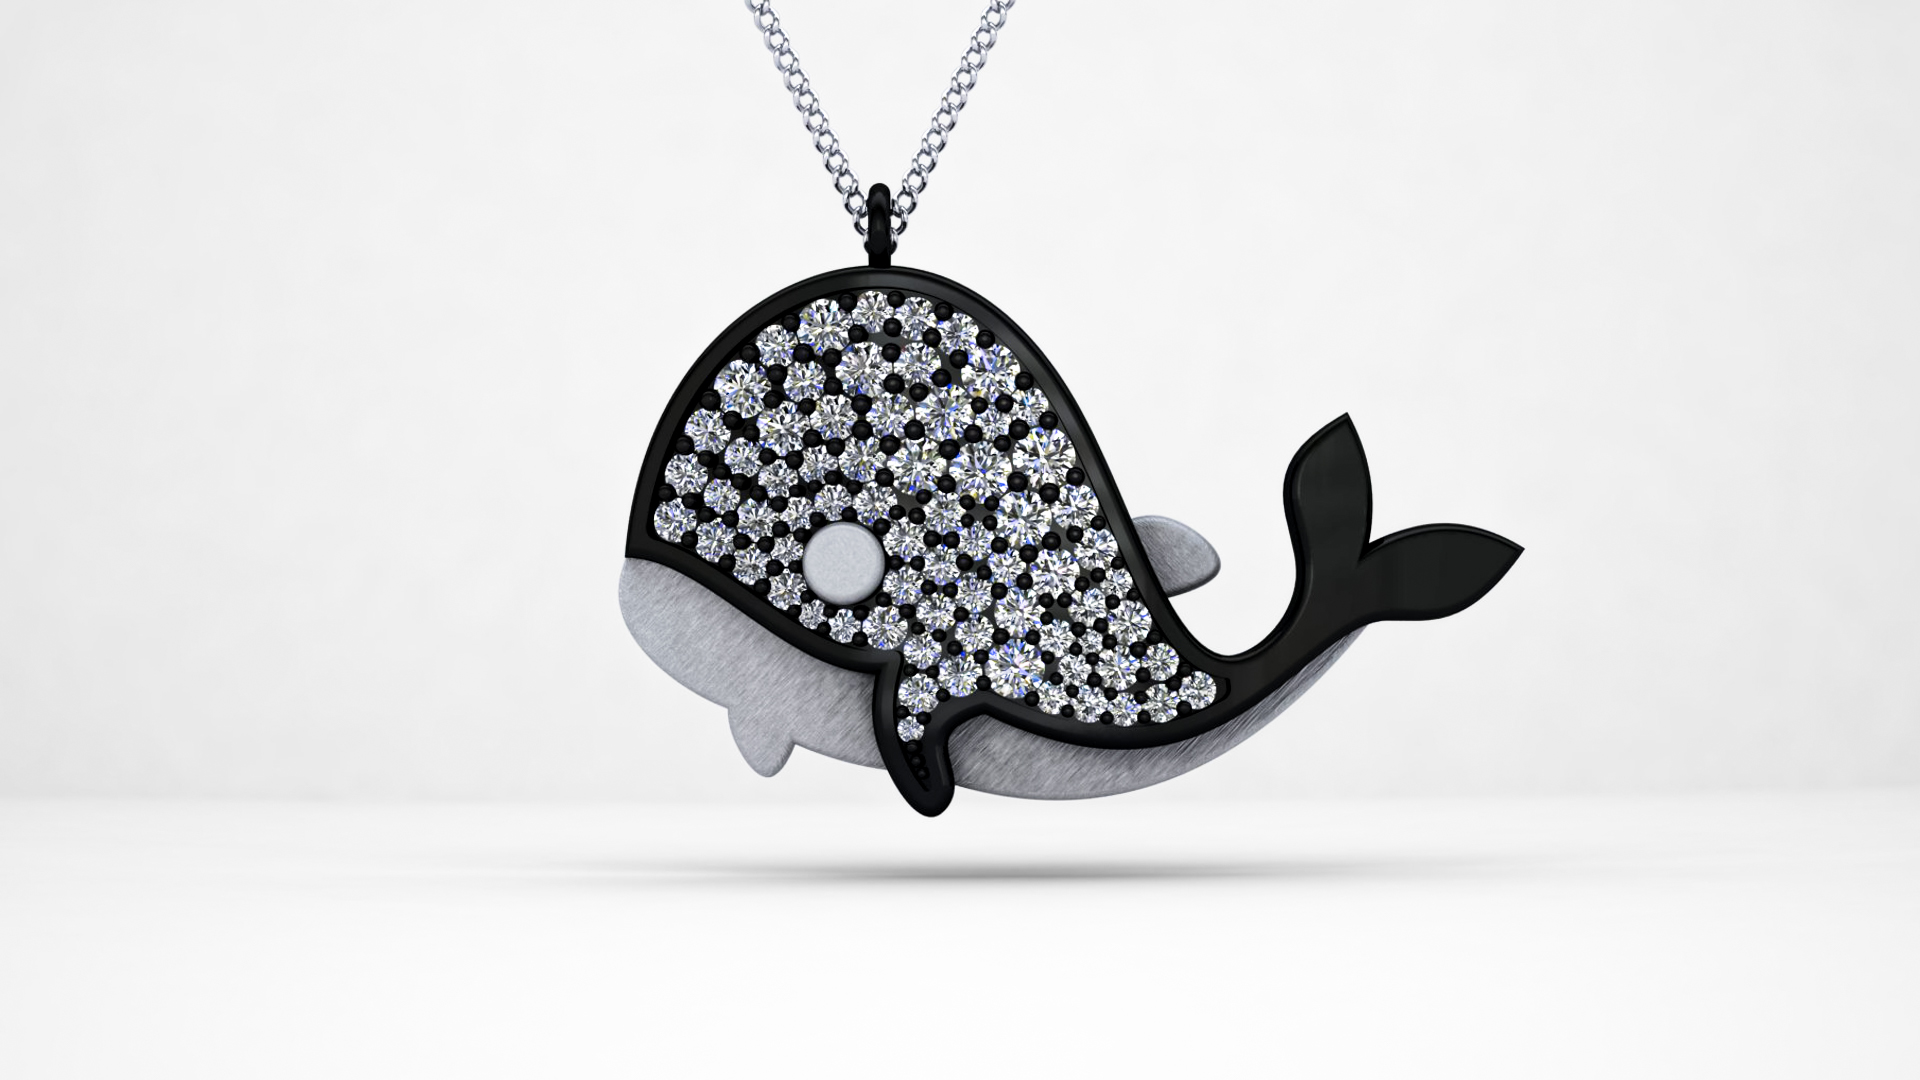
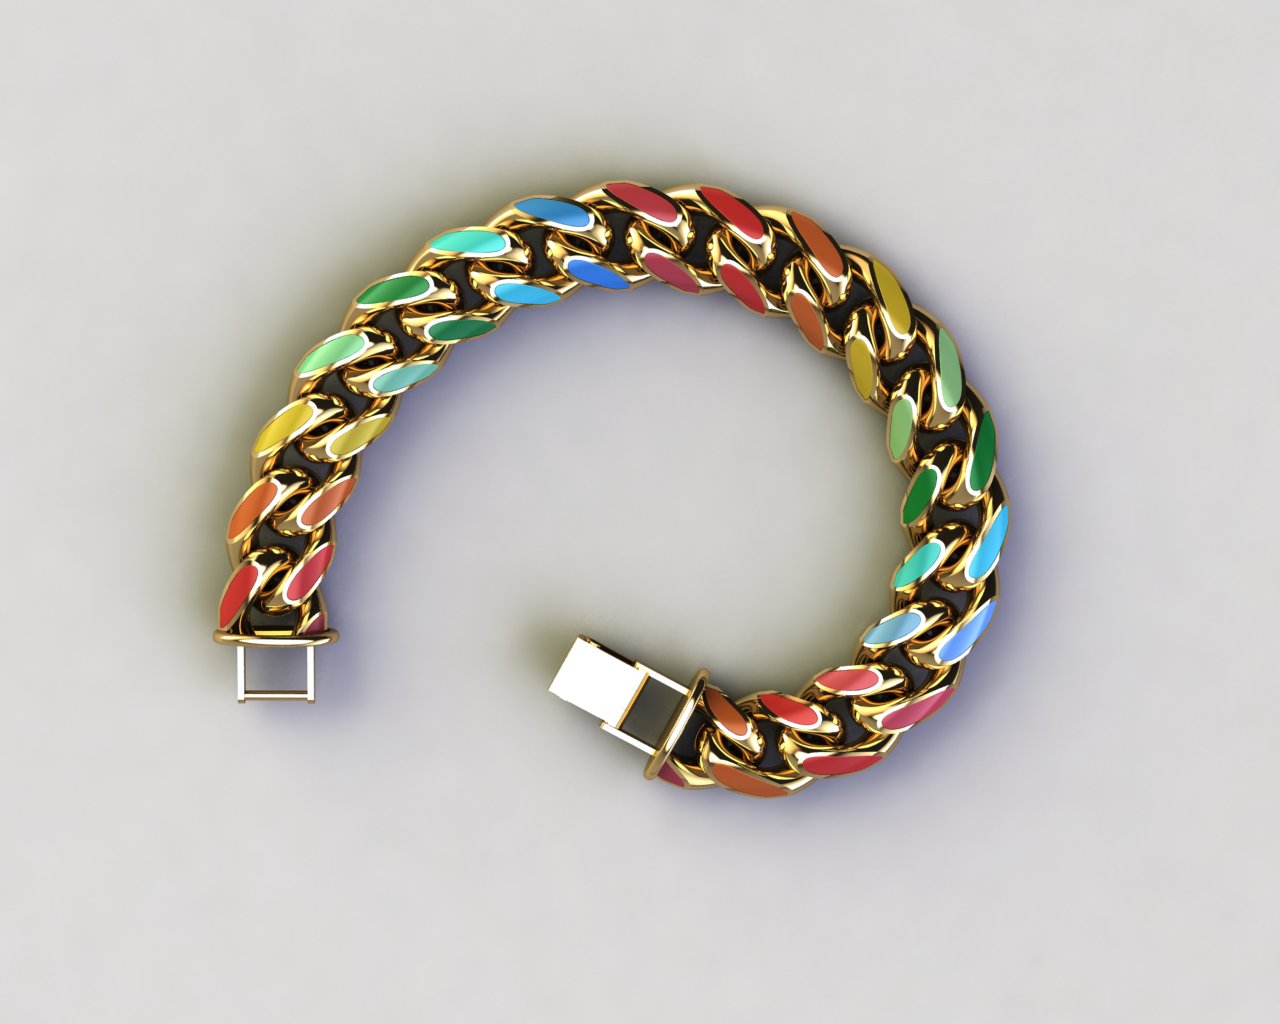
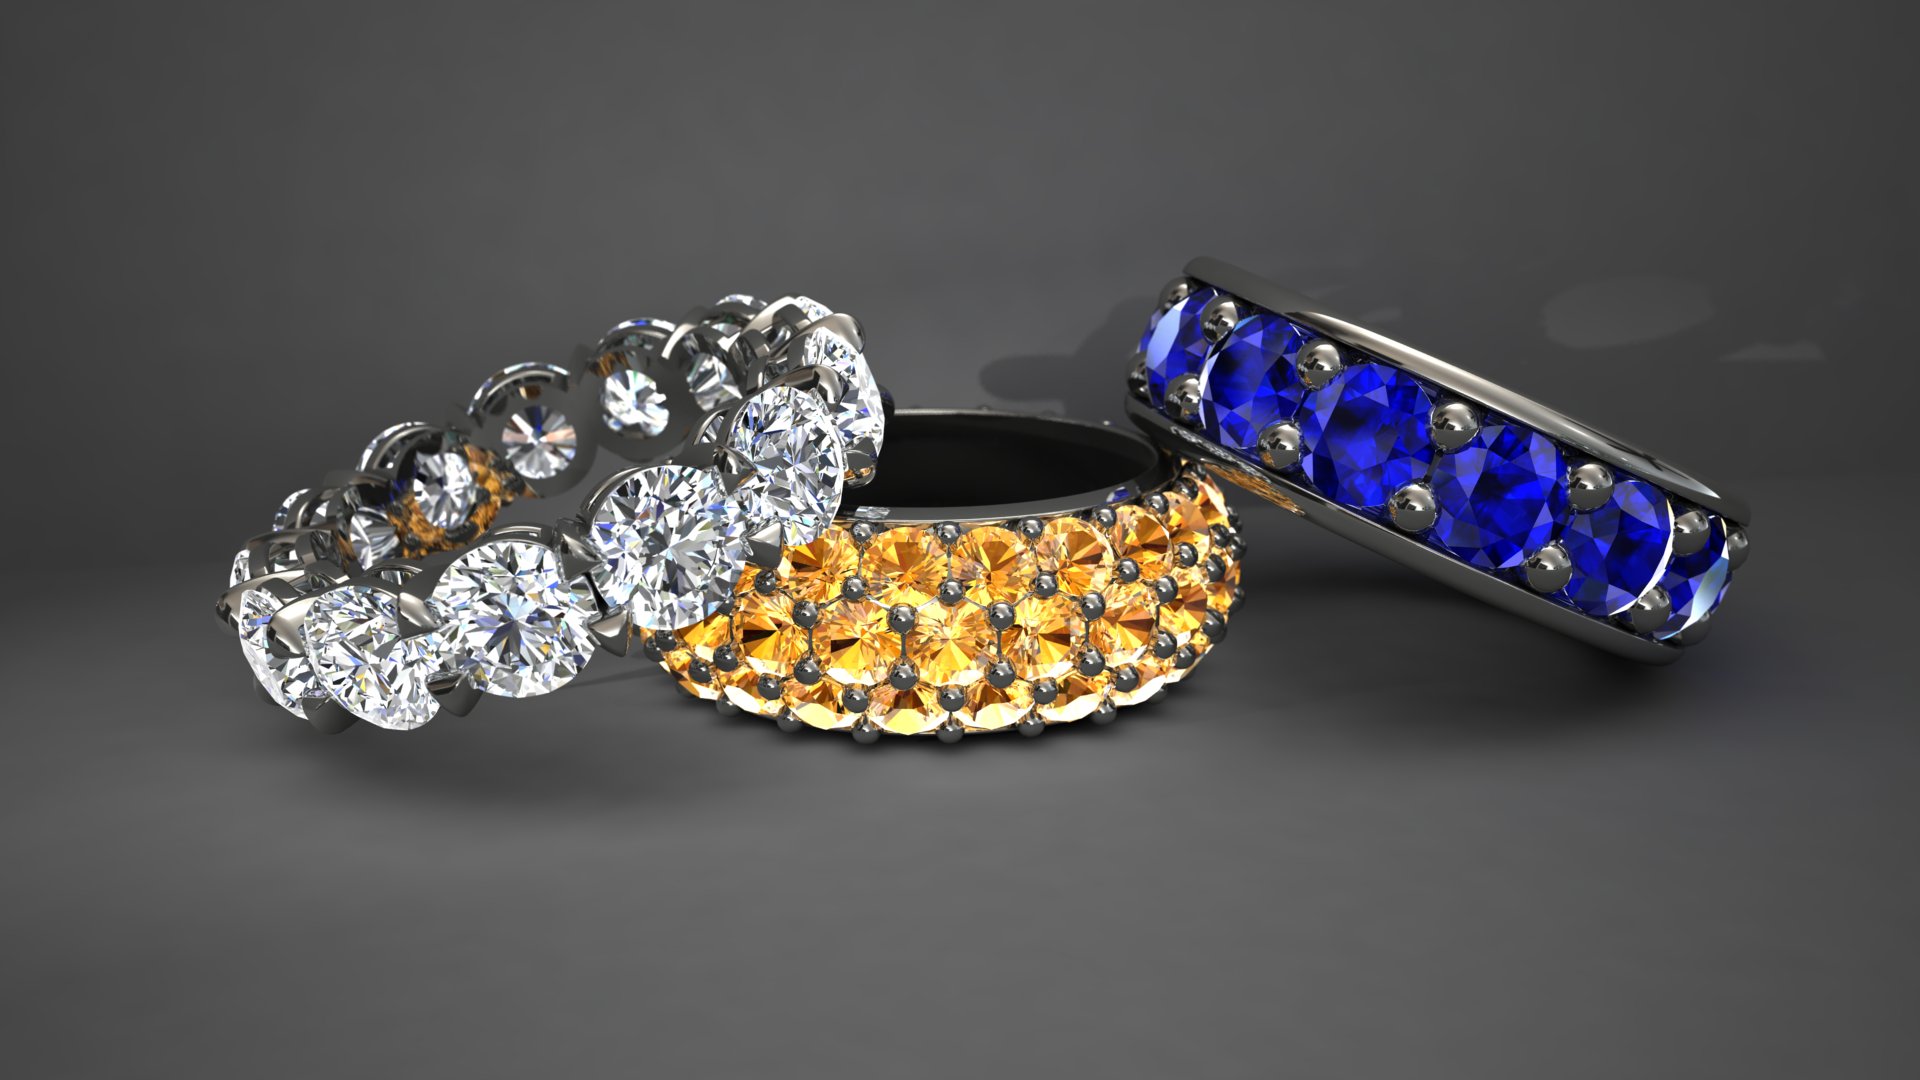
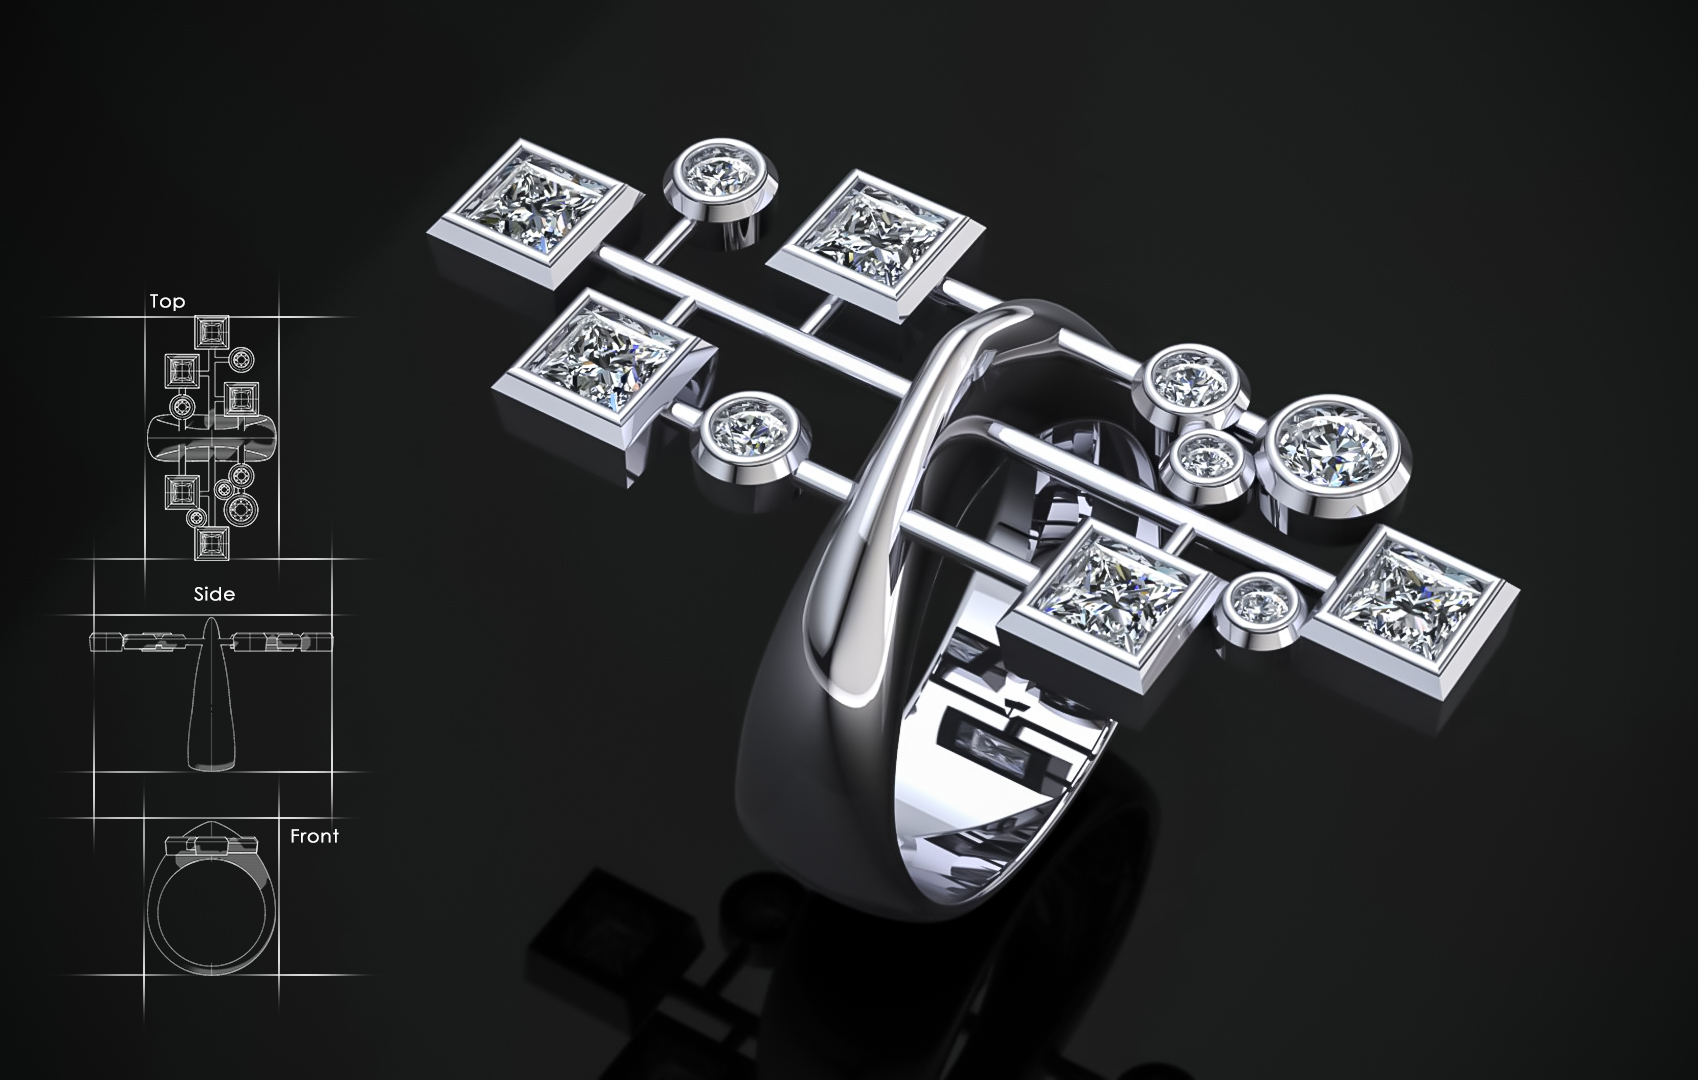
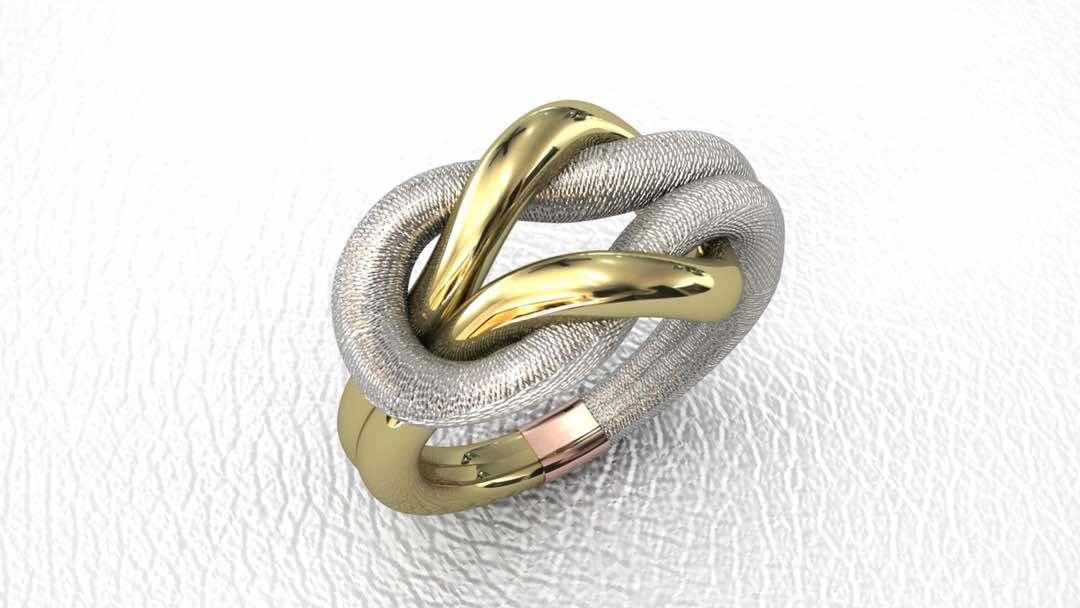
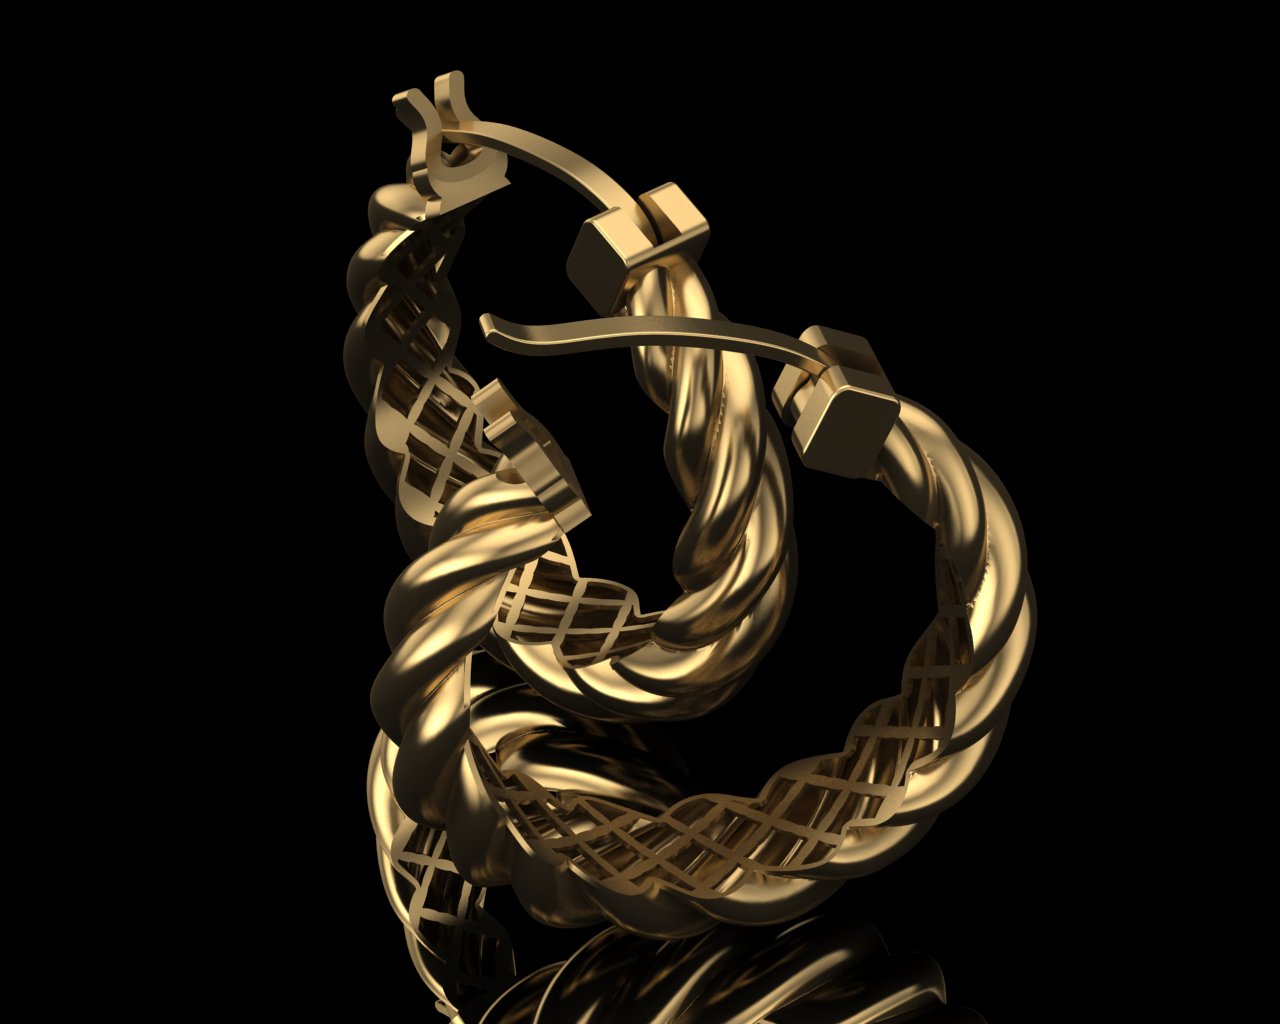
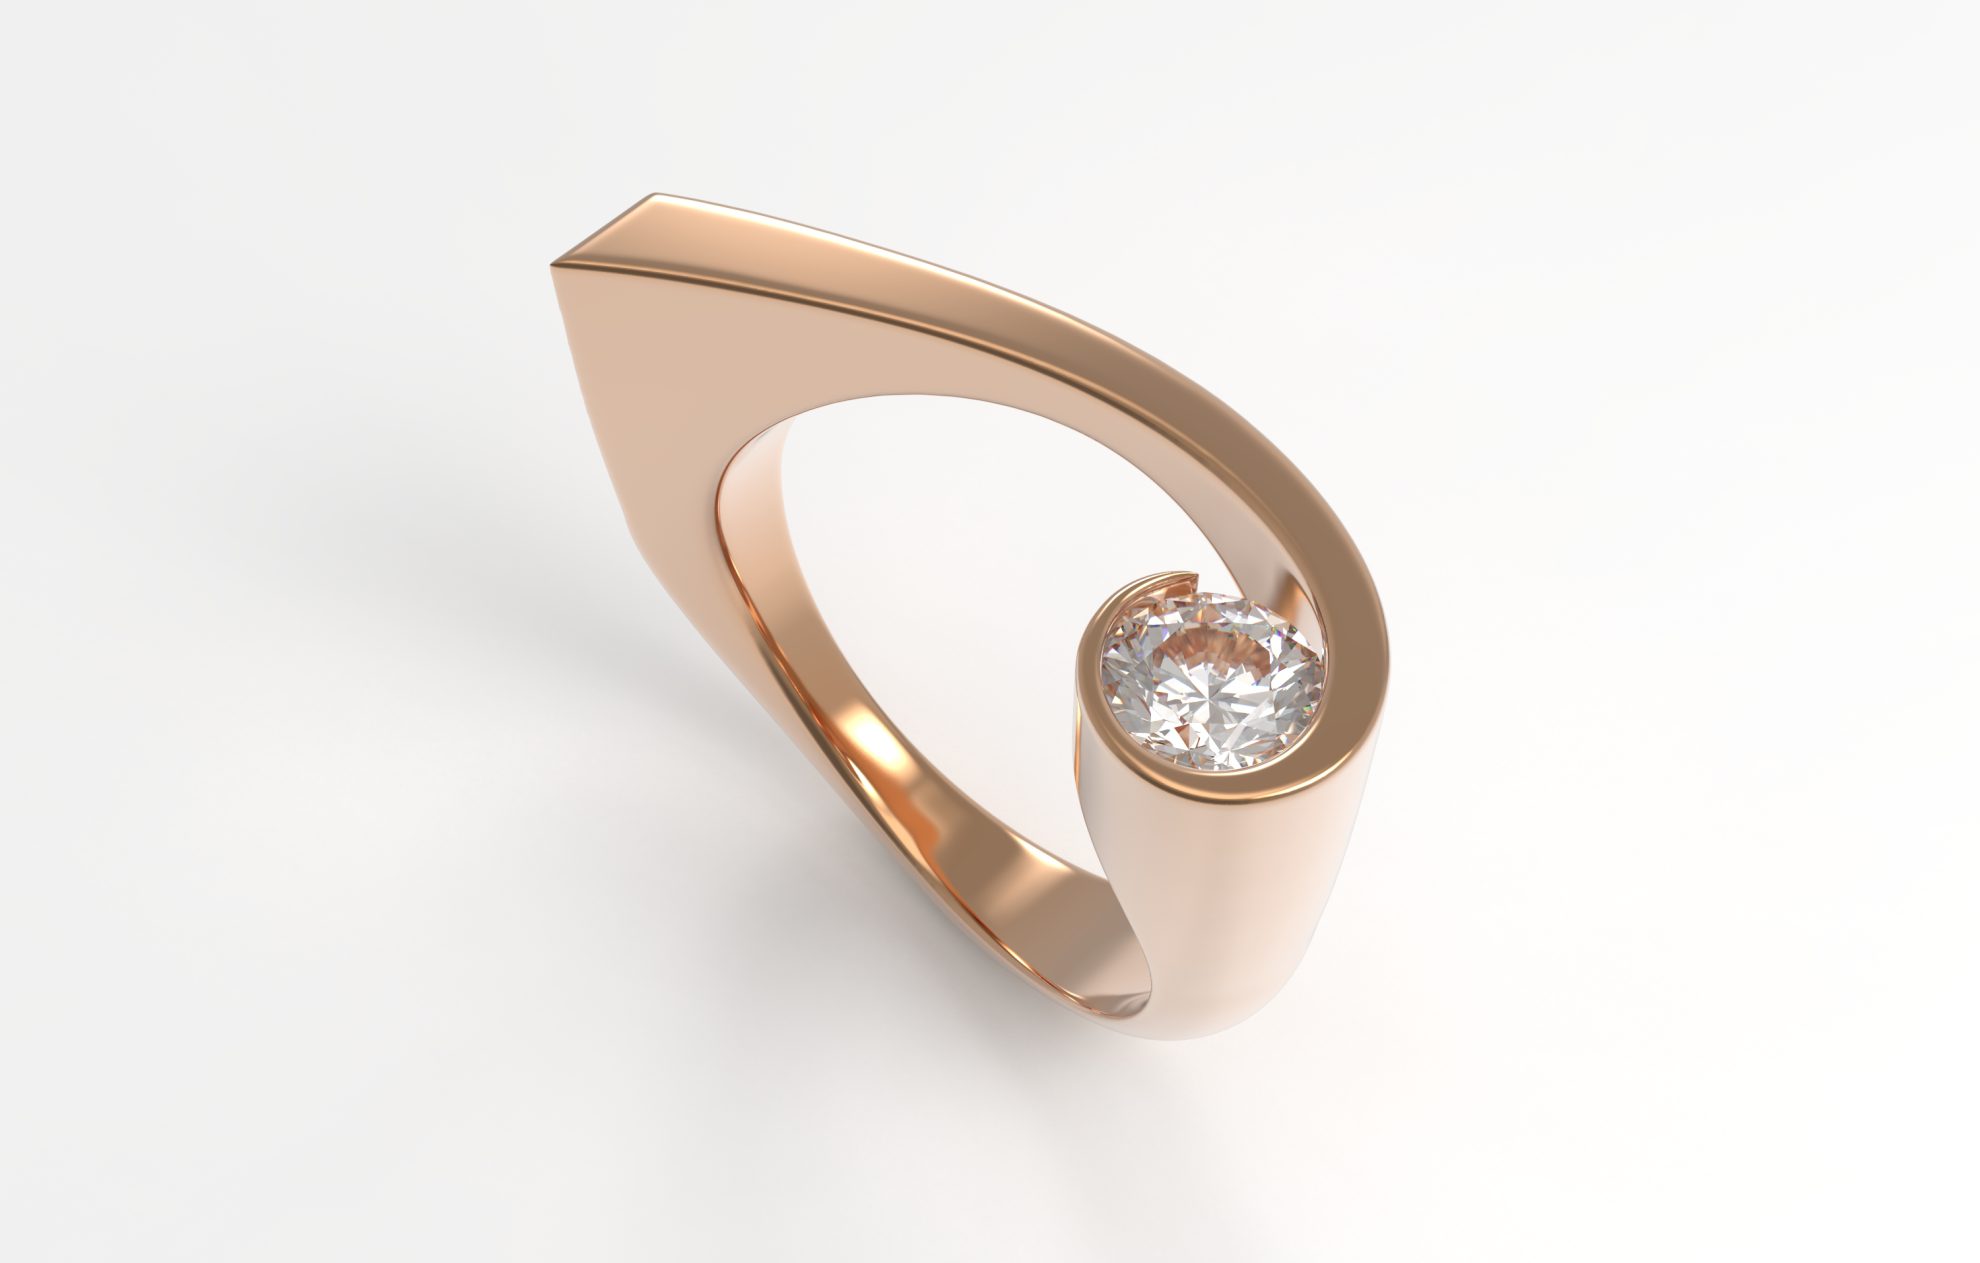
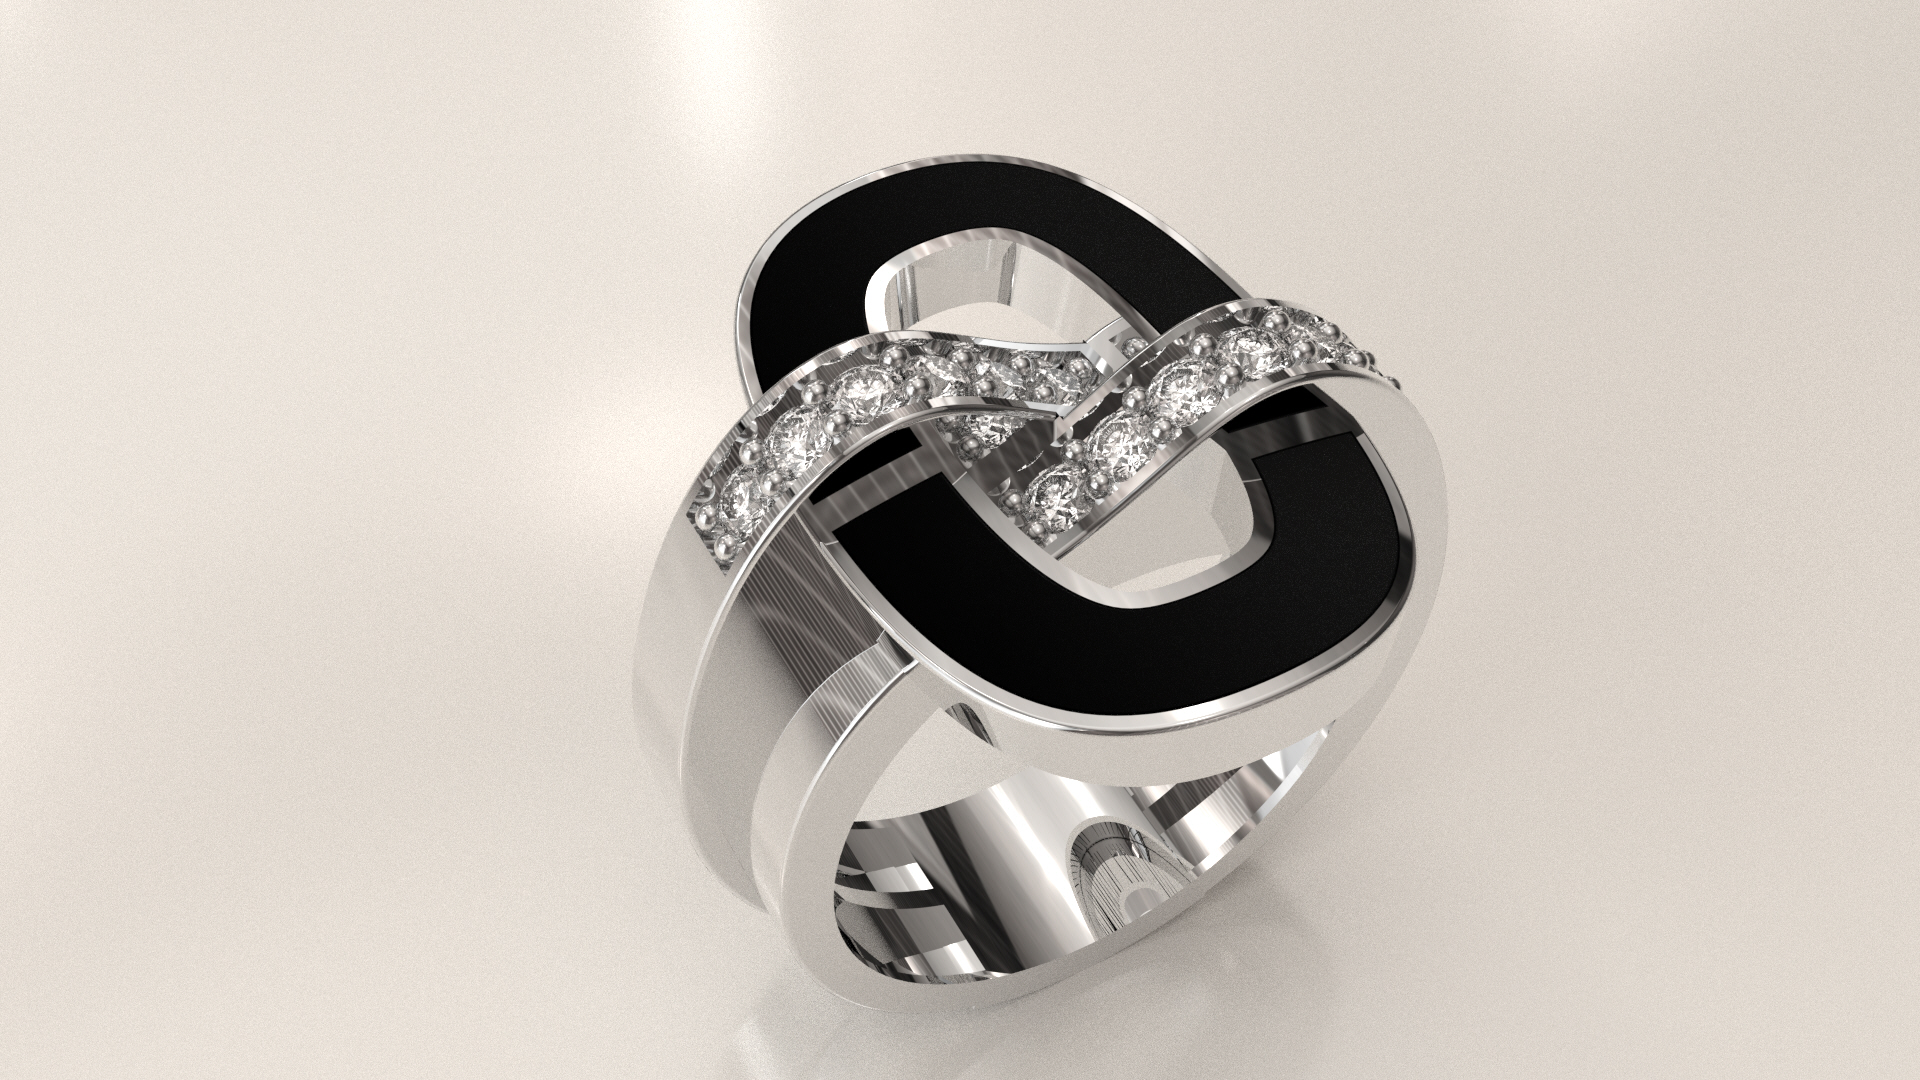
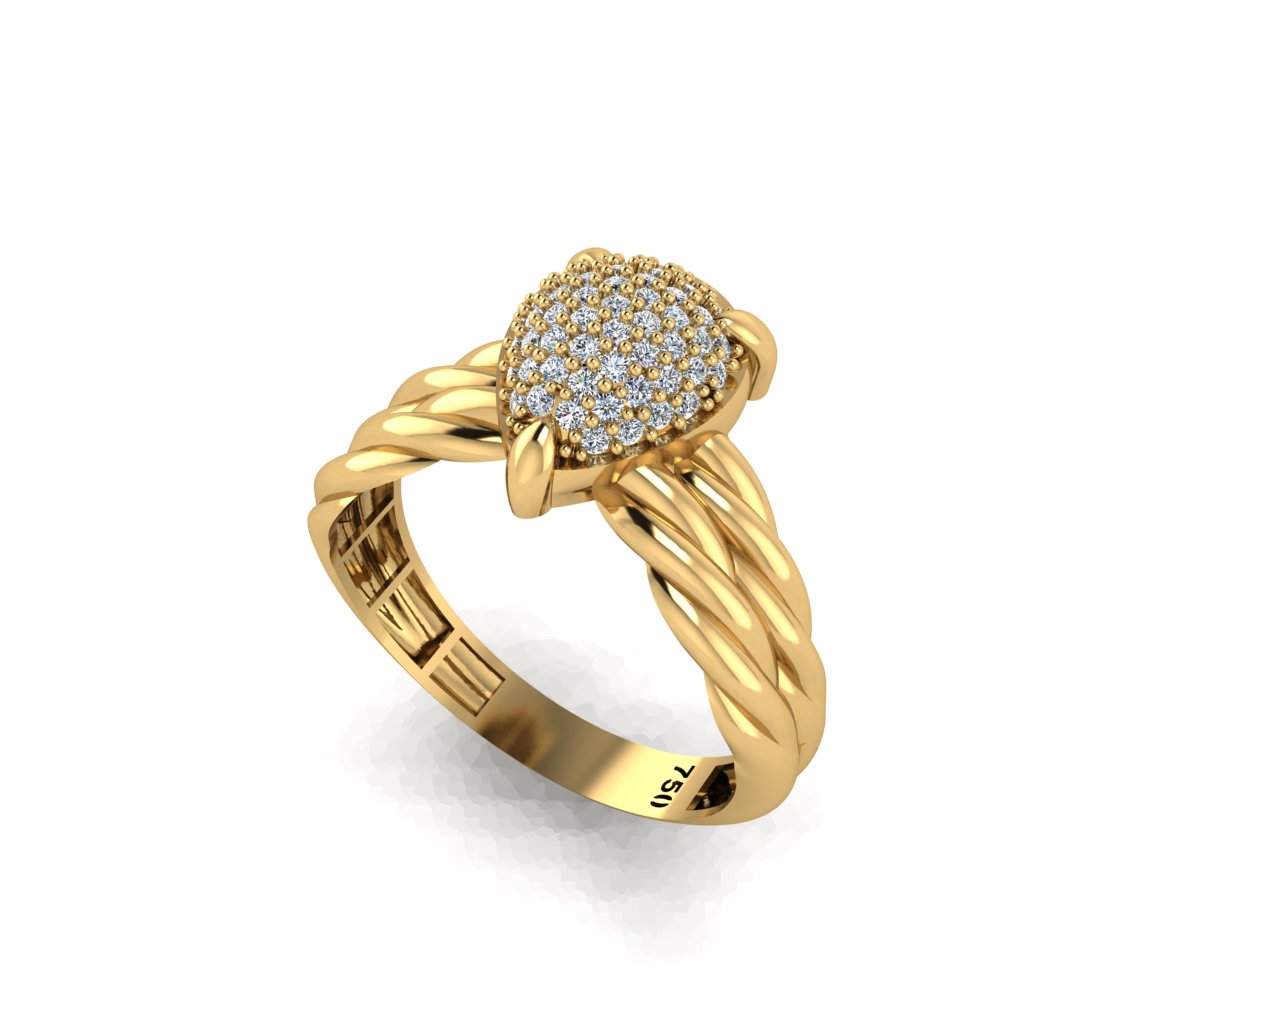
After passing the Primary course students can take part in our Advanced courses. Lessons and materials that will be presented in this course are followed from the “Jewelry Design with Computer Volume 2” book. In this course we focus on designing and modeling complex pieces such as rings, pendants, bracelets, necklaces and earrings.
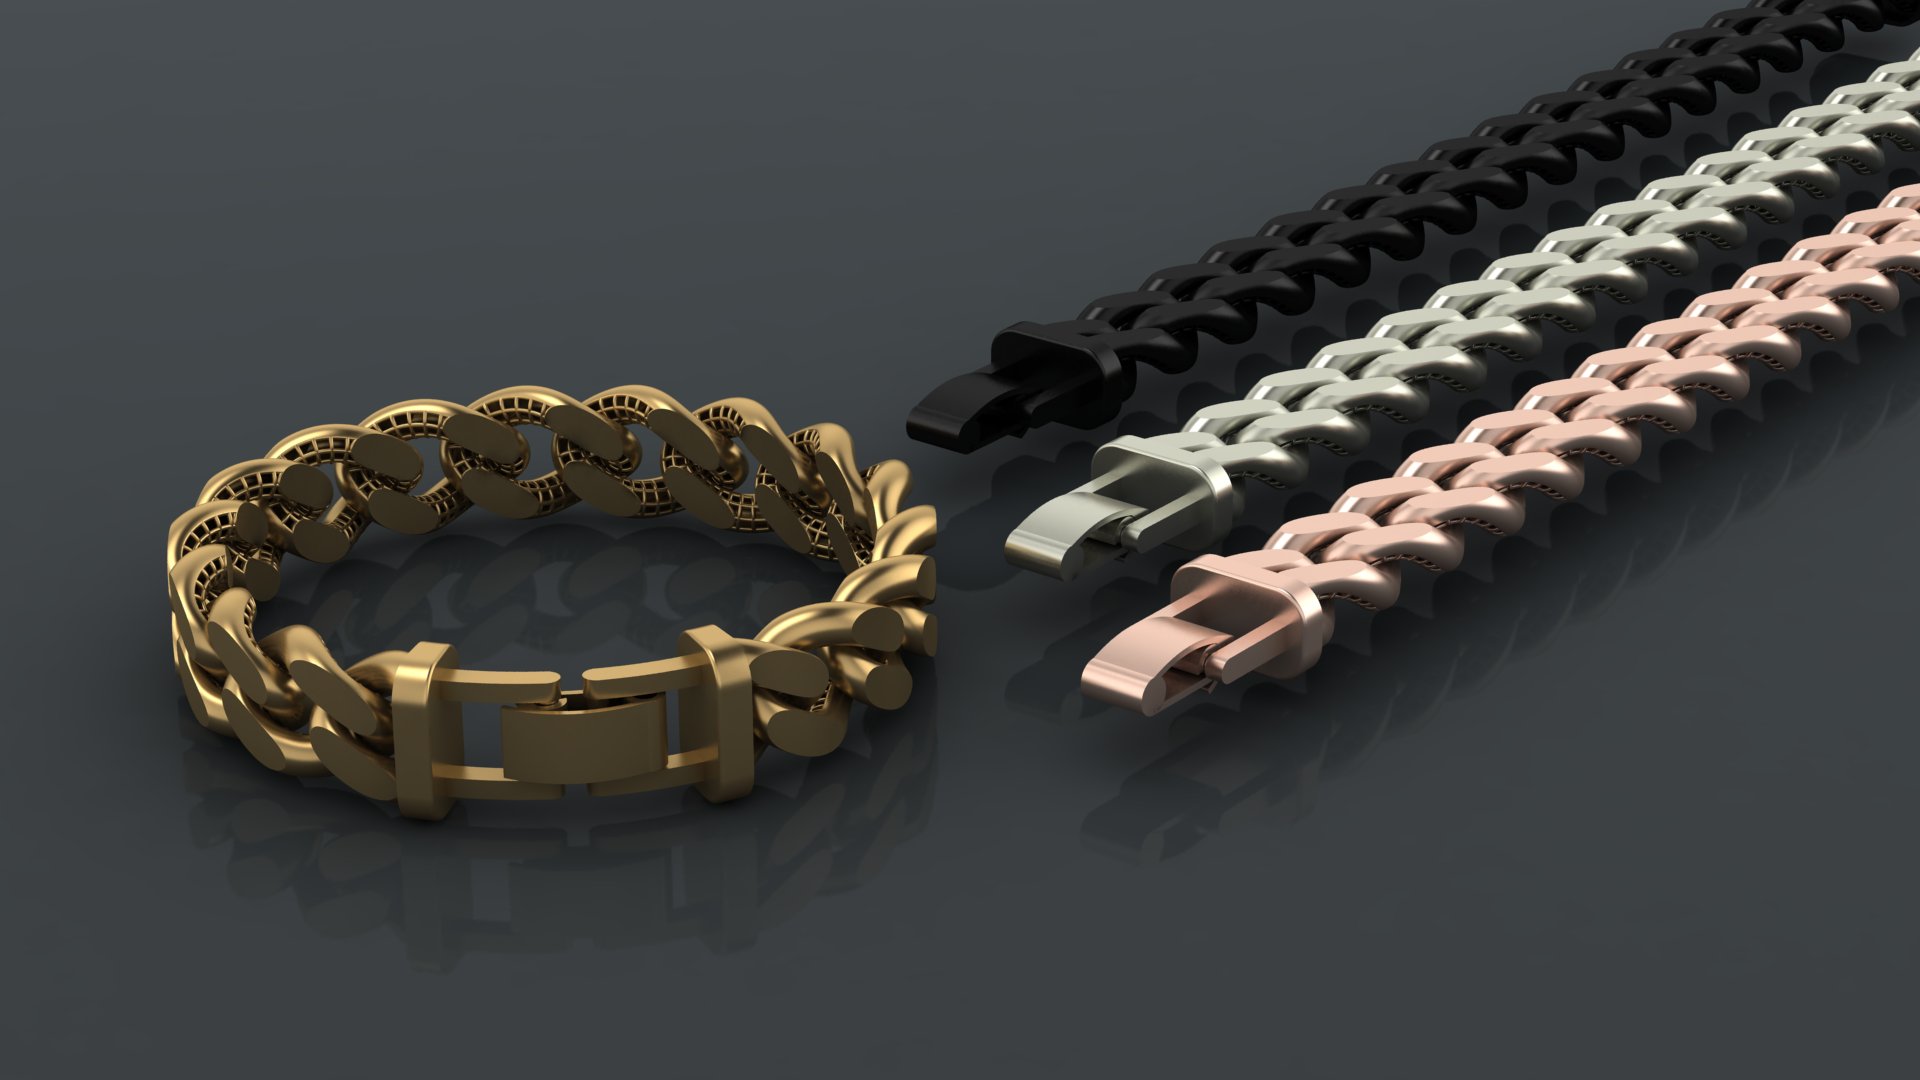
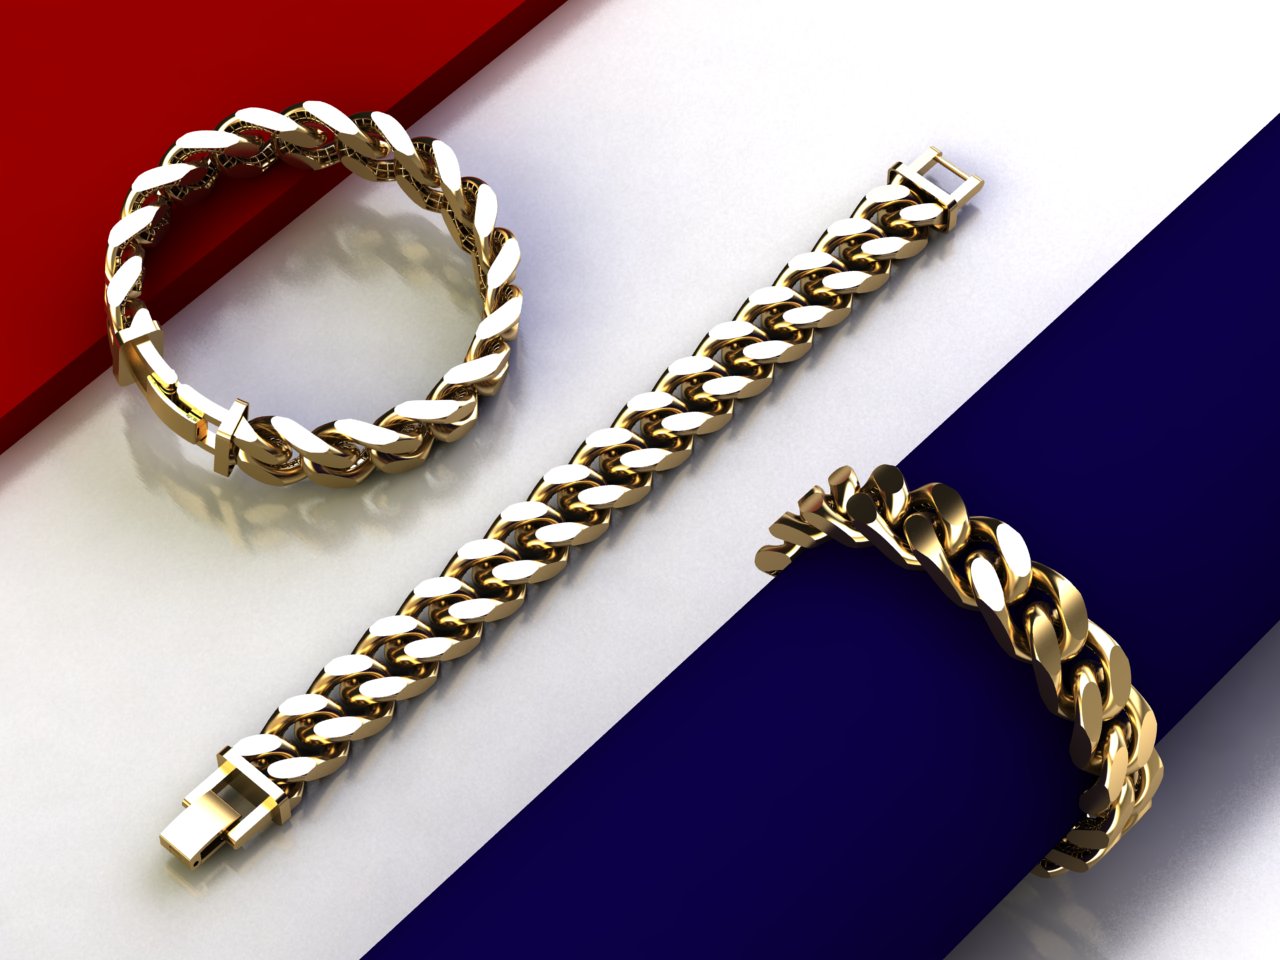
Also during this course we teach how to model bangle & tennis bracelets, multi-piece bracelets and necklaces and their working mechanism as well. Since precious metal and gemstones are very expensive, we also focus on reducing the weight of the jewelry pieces we design in the book; without affecting its beauty and form by introducing various techniques for designing and modeling.
In this course we try to teach concept design tips and practices as well that will help to upskill the student minds in becoming creative, practical and precise in their designs. During the course we also go through other subjects such as introducing new brands, jewelry styles and English terms as well. Eventually we work to develop students to work for jewelry workshops and big companies as a designer.
- You can select which day of the week you want to have your class on
- You can select the time of your class *
- You can change the date and time of your classes twice during the course
- You will be the only student in the class which can help the teacher to focus solely on you
- You get personalized lesson plans that focus on your difficulties
- There will be no iterative questions from other students that you already know the answer to
- You don’t need to be shy or afraid to make mistakes since there will be now other students in class
*Based on availability of our instructors and local time differences
- You pay less compared to one-on-one classes
- You will attend to a prescheduled class
- You can meet other students and make career contacts
- You will have the chance to see other student designs and and learn even more
- You can collaborate with other students and learn different ways of designing a jewelry piece
* Availability of group classes may differ for each course
ONLINE COURSE Advantages at MDA
The major difference that parts Mortazavi Design Academy from other academies and schools that present online courses is that we at MDA offer a live, interactive class whereas other online education websites usually offer a pre-recorded video of a course that withdraws the ability to collaborate with the instructor and ask questions. However at MDA we assure a full collaborative online class that allows the students to ask questions, collaborate and see the class live from their online panel.
Course Topics
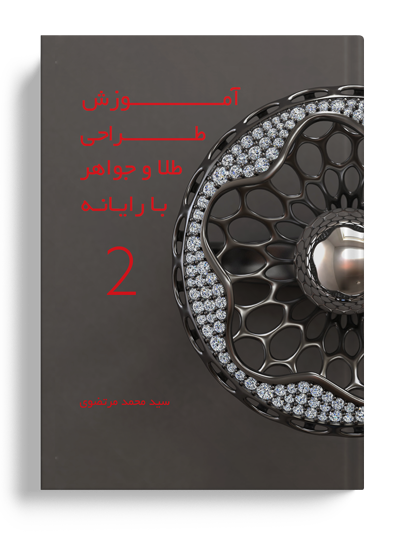
This course is followed from the “Jewelry Design with Computer Volume 2” with over 420 pages, written and published by Mohammad Mortazavi who is the instructor of the course as well. To be qualified for attending this course, you should complete the Primary (Level 1) course. You just need to attend every session and make sure you practice enough after each session. This class will be in 12 sessions, each session is 3 hours, 36 hours in total. You are free to schedule your sessions any time and day during the week. We will give you all the necessary details about the advanced jewelry making standards and gem settings during course. You will be able to work for any jewelry company in the world after completing this class for sure!
- Introducing Rhino & Matrix
- Understanding the “Gumball” toll
- Introducing “Shell Closed Polysurface”
- Introducing the “Rhino History”
- Tips on “Offset Surface”
- Understanding “Turn On Solid Control Points” tool
- Introducing the “Halo Builder” tool
- Understanding the “Gem Springs” tool
- Introducing the “Gem Map” command
- Introducing the “Bermark Library”
- Introducing the “Stuller Findings Library” tool
- Understanding “Image Trace”
- Introducing the “Four Rail Profile” command
- Introducing the “Four Rail Profile Sweep” command
- Object save and backup
- How to add keyboard shortcuts
- Step by step guide on “Cluster Builder”
- An introduction on “Cluster Builder” command
- An introduction on “Curve from 2 Views” command
- “Cluster Builder” setting
- Step by step guide on “Cluster Builder” with one or two rows
- Step by step guide on basket ring design with “Gem on Curve Multi” command
- An introduction on “Gem on Curve Multi”
- Step by step guide on basket ring design “Bluish”
- An introduction on “Match Attributes” command
- “Divide Curve” tool introduction
- “Quick Curve Blend” command
- “Cable” pendant step by step guide
- “Helix” tool
- “Adjust Closed Curve Seam” command
- “Cable” ring’s step by step design
- “Clover “ring step by step design
- “Tween Curves” tool introduction
- “Flow along Curve” command
- “Bounding Box” tool
- Step by step “cloud pendant” design
- An introduction on “Metal from Gems” command
- Creating “Bead on Curve” granulation
- An introduction on “Show Edge” command
- An introduction on “Join 2 Naked Edges”
- “Edge Curves” command
- “Patch” tool explanation
- Step by step guide on “Dome Clover”
- “Orient on Surface” command
- An introduction on “Pullback” command
- An introduction on “Project” command
- Step by step guide on “Petal” ring design
- An introduction on “Extend Curve”
- “Drape” command
- “Untrim” command
- Step by step guide on “Sign” ring
- An introduction on “Create UV Curves” command
- An introduction on “Text” tool
- “Apply UV Curves” command
- Step by step guide on “Black Sky” lace pendant
- An introduction on “Rebuild Surface” command
- “Extract Wireframe” tool explanation
- How to use “Solid Multi Pipe” command
- An introduction on “Gem on Curve Multi” command
- Step by step guide on “Bluish” basket ring design
- An introduction on “Match Attributes” command
- An introduction on “Divide Curve” tool
- “Quick Curve Blend” command
- Step by step guide on “Cable” pendant design
- “Helix” tool
- An introduction on “Adjust Closed Curve Seam” command
- Step by step guide on “Cable” ring design
- Step by step “Clover” ring’s design
- “Tween Curves” tool explanation
- “Flow along Curve” command
- “Bounding Box” tool introduction
- Cloud pendant step by step design
- An introduction on “Metal from Gems” command
- Granulation by “Bead on Curve”
- An introduction on“Show Edge” tool
- Introduction on “Join 2 Naked Edges”
- “Edge Curves” command
- “Patch” tool explnation
- Step by step “Dome Clover” ring design
- “Orient On Surface” command
- An introduction on“Pullback” command
- An introduction on “Project” command
- Petal ring step by step design
- Introduction on “Extend Curve”
- “Drape” command
- An introduction on“Untrim” command
- Sign ring step by step design
- “Create UV Curves” command
- “Text” tool introduction
- “Apply UV Curves” command
- “Black Sky” pendant step by step design
- An introduction on “Rebuild Surface” command
- “Extract Wireframe” tool explanation
- How to use“Solid Multi Pipe” command
- “Contour” command introduction
- Gold Sting pendant step by step design
- Blossom pendant step by step design
- Lattice Ring step by step netted ring design
- “Shrink Trimmed Surface” tool explanation
- “Direction” tool introduction
- “Super Select” command introduction
- Step by step“Black Sky Ring netted” ring design
- Step by step guide on eslimi placing
- An introduction on“Section” command
- “Plane and Cube Cutters” command explanation
- “Revolve” command introduction
- “Adjust Closed Surface Seam” tool explanation
- Hexapen step by step lace pendant design
- “Polygon” tool introduction
- Eternity pendant step by step guide
- Ring design step by step guide with bagget stone
- “Polyline On Surface” command
- “Offset Normal to Surface” command
- “Baguette Channel” tool explantion
- How to use“Curve Network” command
- Domehex ring step by step ring design
- “Orient 2 Points” command explanation
- Step by step guide ondesigning a ring’s ground plane
- “Shell” command explanation
- “Extend Surface” command introduction
- “Dome Heart” pendant design
- “Rail Revolve” command explanation
- Step by step guide on “Pave Flower” pendant with gem
- “Rotate 3D” command explanation
- Pave Ring step by step ring design
- “Auto Pave Builder” command explanation
- Step by step guide on several embossed flower designs
- “Bend” tool explanation
- Plumeria ring step by step design
- An introduction on“Flow along Surface” command
- Snake Skin step by step design
- lace ring step by step design by usingKnot Builder command
- “Knot Builder” tool explanation
- Step by step ring design by “Micro Prong” command
- “Adjustable Curve Blend” command explanation
- “Micro Prong Cutter” tool explanation
- “Taper” command
- Step by stepEslimi ring design
- “Ring Resizer” command explanation
- “Gem Flow” tool explanation
- “Gems Between 2 Curves” command explanation
- “Gem On Curve Advanced” command introduction
- “Gem Count On Curve” command explanation
- Rendering for production
- “Mesh Repair” command
- 3D “printing” tool explanation
- Printing 3D design supporting
- An introduction on rendering and its importance in gold and jewelry design
- An introduction on Vray Styles
- An introduction on the main parts of Vray Styles
- Rendering styles
- Material settings
- Creating texture on different surfaces
- Stone materials
- Stones lighting amount setting
- Resolution
- Render command
- Demonstrating last render
- Creating “ render source” file
- Tips and techniques for creating a good and easy render
- Tips and techniques for creating a good and easy render
- Choosing appropriate material, dividing surfaces by using Texture and Extract Surface
- Reducing slow studios speed
- New studios in matrix 8
- An introduction on “Batch Render”
- Layout Tool
- Getting familiar with “Scene Editor” tool bar
- Uploading picture in Environment
- Uploading color in environment
- Indirect lighting
- Physical lighting( direct)
- getting familiar with different lights
- introducing Emitters Materials
- Create Spotlight command
- Create Point Light tool explanation
- Create Directional Light tool introduction
- Create Rectangular Light introduction
- Create Linear Light command
- Getting familiar with camera
- How to save different materials in different styles
- How to save different styles
- Props Library tool introduction
- Step by step guide on designing turquoise stone without order
- Picture Frame command
- Wire Compositor tool explanation
- Render Editor tool introduction
- An introduction on Matrix Movie Maker
- How to apply “Setting Channel”
- How to apply “setting Mellee” and “Setting Granite”
- Setting’s standard chart
- How to apply “prong or claw setting”
- How to apply “Setting Bezel”
- How to apply “Setting Flush”
- How to apply “Setting Pavé”
- Placing stones in “Setting Flower Invisible” way
- How to apply “Setting Invisible”
- An introduction on “Builder Gem Custom”
- Step by step guide on cutting stone with “Cut Rose” or “Board Chocker” cutter
- An introduction on “Points Corner”
About the Instructor

ِCEO & Instructor
- Founder and CEO of Mortazavi Design Academy.
- Design director of MDA jewelry design team.
- Former Design director and concept designer of RHYTON’s design team
- Jewelry design certificate from GIA, Florence, Italy in 2010.
- Accredited jewelry professional – AJP certificate from GIA, USA, 2014.
- Speaker in first, second and third jewelry designer forum in middle east- 2015, 2018, 2019 & UAE.
- Merit Award winner from International Jewellery Design Excellence Award 2011 competition in Hong Kong.
- Winner of 11 Jewelry design awards from the A`Design awards in Como-ITALY , 2011-2012-2013-2014-2016
- Winner of two awards, “Merit” and “Distinction” from the International Jewellery Design Excellence Award 2015 – Hong Kong.
- 7 Jury membership world wide including, Thailand, ITALY, IRAN AND UAE

CAD Instructor
- BA. in sculpture from University of Tehran
- MA. In Art research from University of Tehran
- Collaboration with the Iranian Sculptors Association
- Holder of Jewelry Design coaching degree from a Technical and Professional Organization
- CAD Jewelry design instructor at University of Applied science of Jewelry Union of Tehran
- Member of Mortazavi Academy Teachers Team
- English & Persian instructor of jewelry design with computer at MDA
- English & Persian instructor of jewelry Rendering at MDA
- Software knowledge :
Rhinoceros
Gemvision Matrix
Zbrush
Blender
Keyshot
Solid works visualize
Materilise Magics
Adobe Photoshop
Adobe InDesign
Adobe After Effects
SubD Plugin
FAQ's
This course is suitable for those who have already passed the primary jewelry design with computer course or have a general understanding of the Matrix software or have already read our primary “jewelry design with computer” book and are looking forward to complete there skills working with the software.
For those who are not familiar with computers, and don’t know how to handle working with windows. It’s also not suitable for those who don’t have a diploma.
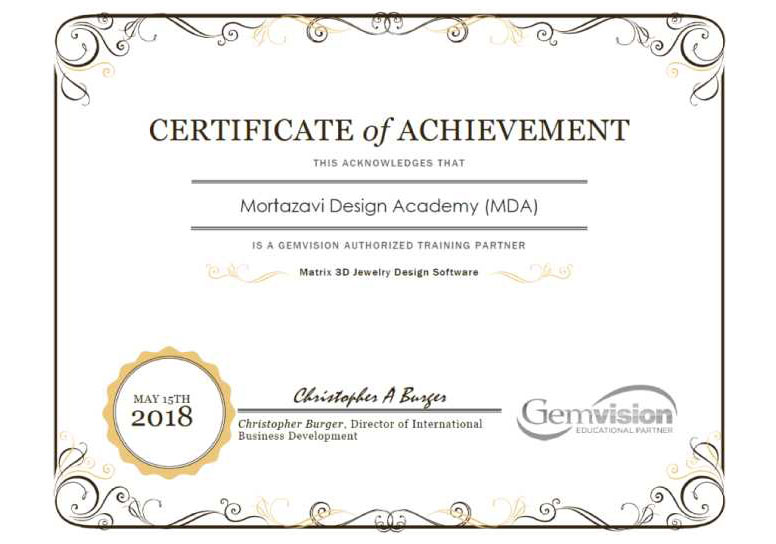
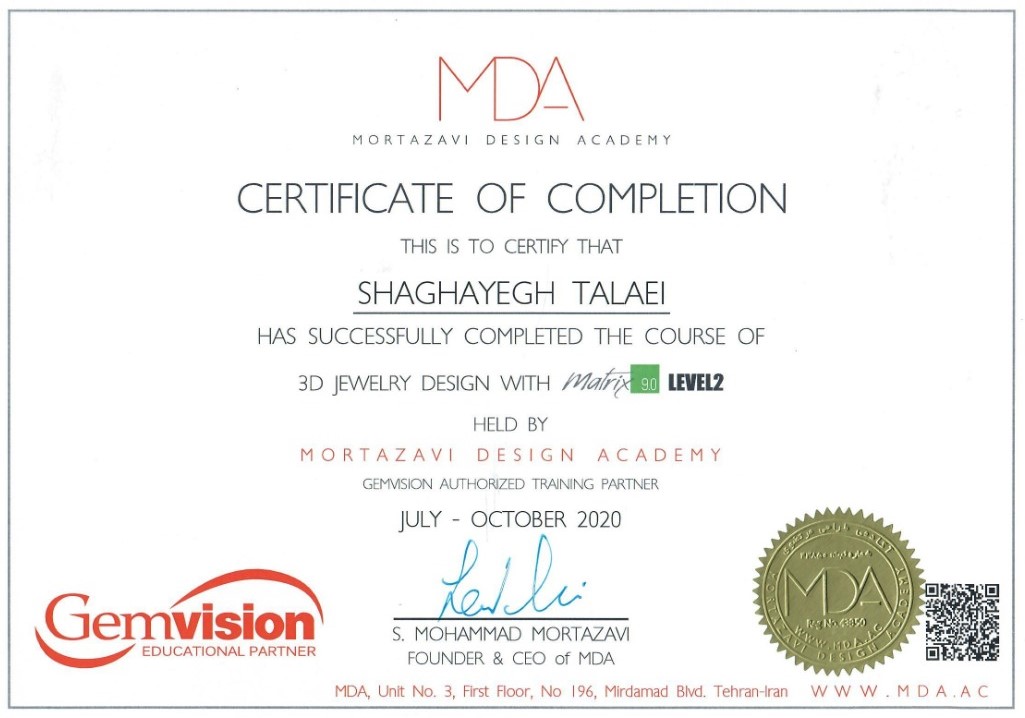
Certificate of Completion
Students will be awarded a “Certificate of Completion” by the academy upon their completion of the course.
This certificate is embedded with a unique QR code that presents the details and authenticity of the certificate when scanned.
The certificate will be posted after process within 3 weeks of your course final.