Primary Jewelry Design with Computer
- English
- 30 Hours
- Access on mobile, laptop and desktop
- Certificate of Completion
- English
- 30 Hours
- Access on mobile, laptop and desktop
- Certificate of Completion
Course Overview
HOURS
NUMBER OF SESSIONS
HOURS
THE DURATION OF EACH SESSION
SESSION
NUMBER OF SESSIONS
About the Course
In these courses students learn how to design a jewelry piece in 3D by using a computer software and following jewelry standards for making, gem setting and casting. With computer and technology enhancements, plenty of powerful software pieces have been developed in order to make designing easier. In these courses the Matrix software by Gemvision is taught for jewelry design.
This software has been developed specifically for jewelry design and is very easy to learn and work with. This software is currently one of the best computer-aided-design programs for jewelry design that is being taught as the primary software in well-known universities and institutions such as GIA in the United States.
To take part in these courses students are not required to pass any jewelry making lessons prior to their registration or even have any background on how to sketch. The only thing you need for these courses is to know how to work with a computer and the Windows operating system; which means being able to handle ordinary tasks in Windows.
- You can select which day of the week you want to have your class on
- You can select the time of your class *
- You can change the date and time of your classes twice during the course
- You will be the only student in the class which can help the teacher to focus solely on you
- You get personalized lesson plans that focus on your difficulties
- There will be no iterative questions from other students that you already know the answer to
- You don’t need to be shy or afraid to make mistakes since there will be now other students in class
*Based on availability of our instructors and local time differences
- You pay less compared to one-on-one classes
- You will attend to a prescheduled class
- You can meet other students and make career contacts
- You will have the chance to see other student designs and and learn even more
- You can collaborate with other students and learn different ways of designing a jewelry piece
* Availability of group classes may differ for each course
ONLINE COURSE Advantages at MDA
The major difference that parts Mortazavi Design Academy from other academies and schools that present online courses is that we at MDA offer a live, interactive class whereas other online education websites usually offer a pre-recorded video of a course that withdraws the ability to collaborate with the instructor and ask questions. However at MDA we assure a full collaborative online class that allows the students to ask questions, collaborate and see the class live from their online panel.
Course Topics
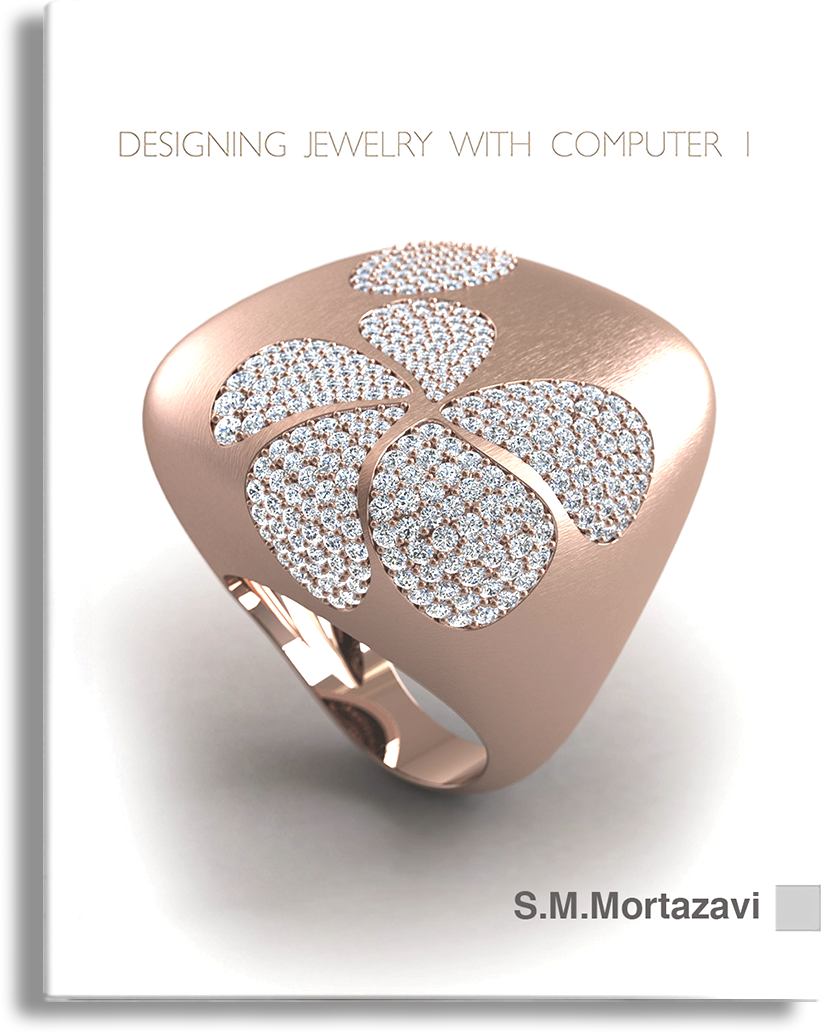
The teaching guide for this course is the “Jewelry Design with Computer Volume 1” book, written and published by Mohammad Mortazavi, who is also the instructor of the course as well.
This book is in fact the most thorough source for learning jewelry design with the Matrix software, followed by the second book: “Jewelry Design with Computer 2“. In this class we will teach you how to start from zero in jewelry designing , with step-by-step exercises in every session. You just need to attend every session and make sure you practice enough after each session. You are not required to have any background on jewelry designing or jewelry making. We will give you all the necessary details about the jewelry making standards and gem settings in the class! All you should know is how to work with Windows and the Internet.
- System hardware requirements
- System software requirements
- Understanding terms and icons used in the book
- An overview on the software
- Understanding the software interface and locating various panels
- “Command Line”
- Understanding “Viewpoints” and different perspectives
- Restore Viewpoints
- How to work with the mouse and keyboard
- Understanding the main menus in Matrix
- Understanding the “Display” menu
- Active Viewport window
- Understanding the “Snaps” menu
- Saving and loading files
- Deleting objects (Undo/Redo)
- Understanding the “Layers” menu
- How to select and group objects
- 2D definition and its usages
- Introducing f4 key
- An introduction on ‘curve’ menu
- Drawing 2D lines
- An introduction on “interp curve”
- Adding a picture in viewports
- Step by step guide on “tree branch” pendant
- Drawing circles, oval, and bow
- An introduction on “Ortho ” and “Simple copy”
- Useful tools
- Object info receiving tool
- Measuring and its usages
- An introduction on 3D design and its usages
- An introduction on “solid “menu and drawing simple geometry shapes
- An introduction on ” Extrude Curve Straight”
- Step by step guide on “4 petals flower” design
- An introduction on “Surface ” and “Polysurface”
- Transforming objects, “transform” menu “Scale 1D-Scale 2D”
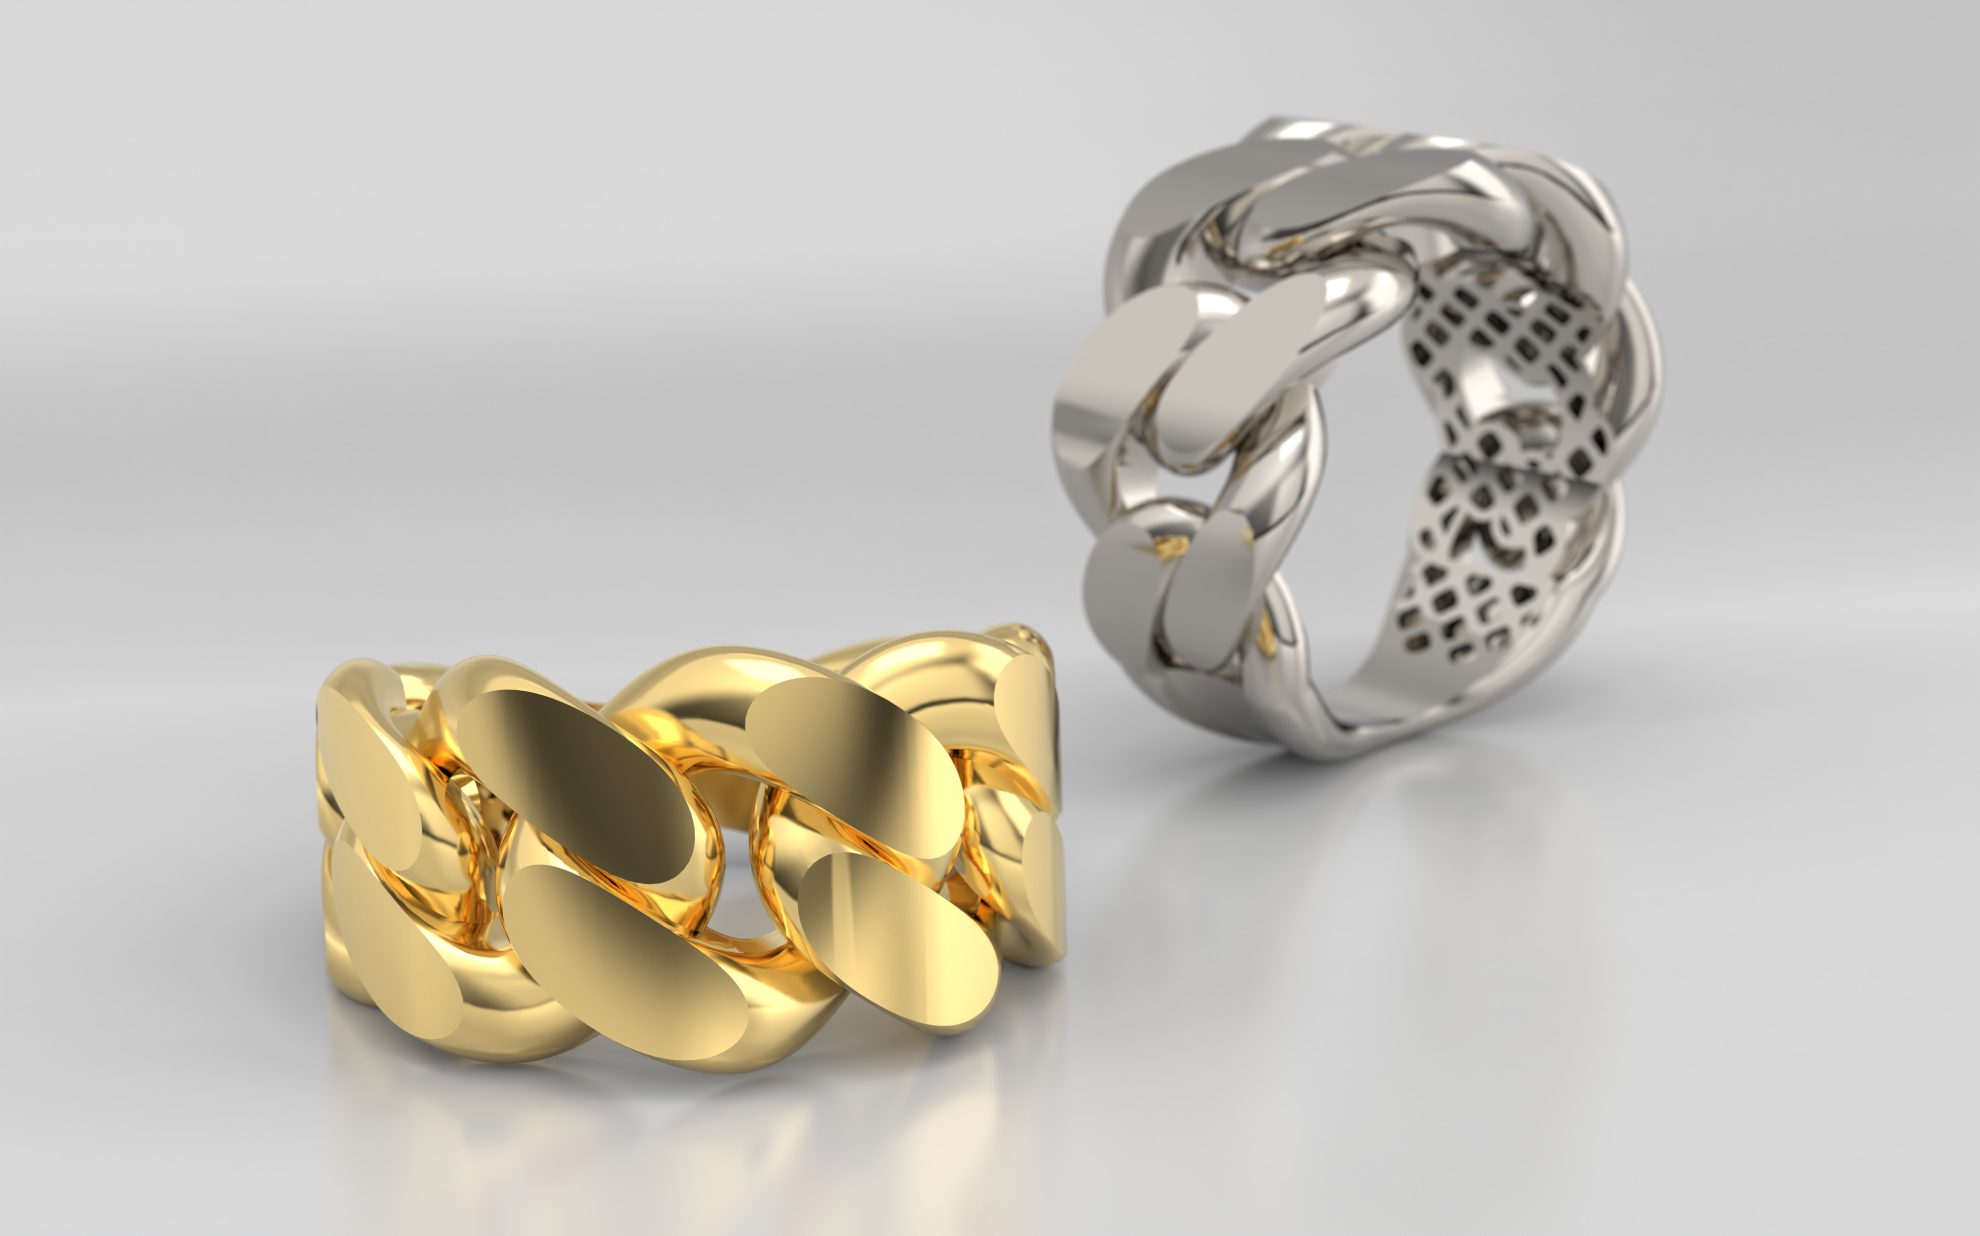
- Step by step guide on “bead band” ring
- Repeating circular shapes with ” Array Polar”
- An introduction on ” Cut To Finger Rail”
- An introduction on ” Rendering ” and virtual photography from the project by “Layer Materials”
- Step by step guide on “bead band wide ring”
- “Setting” and “Bead Setting”
- “Setting” and “channel setting”
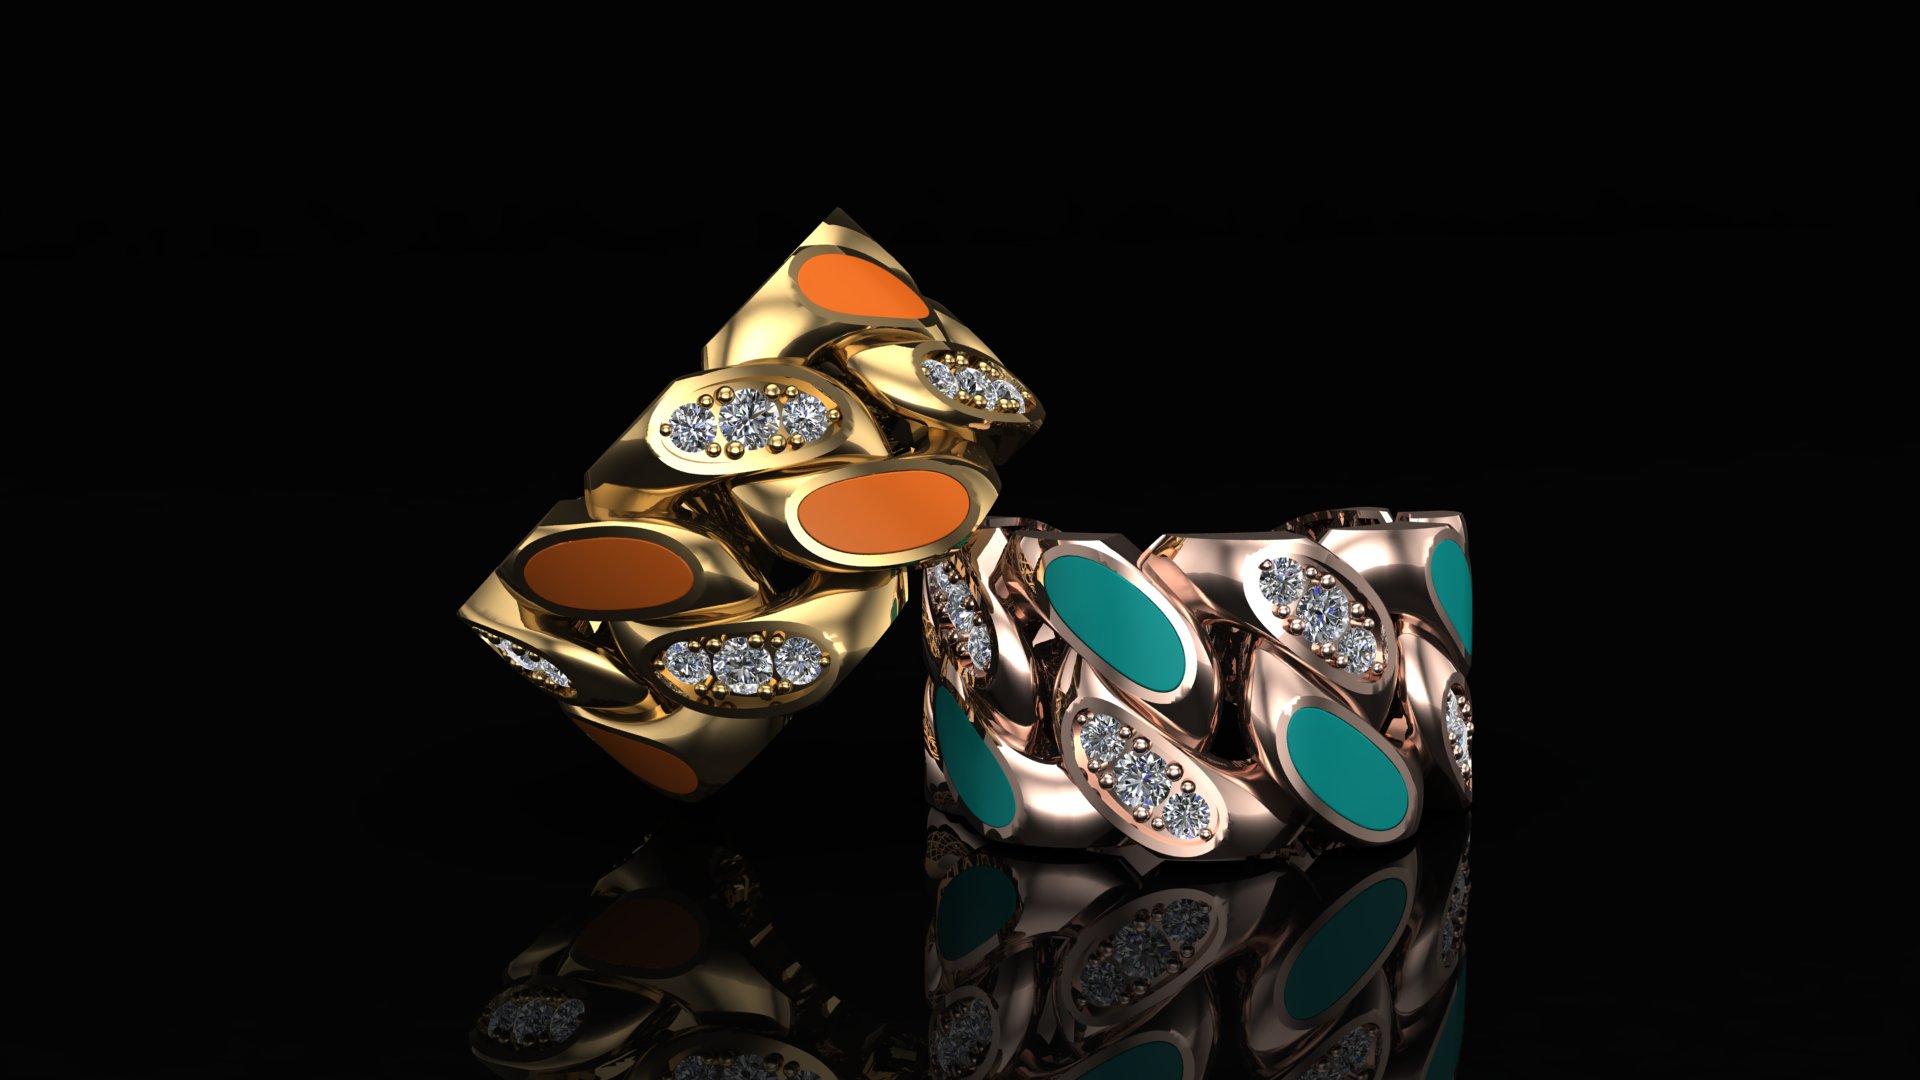
- Step by step “eternity band” ring design
- “Boolean builder” editing tools
- An introduction on “object checker”
- Measuring the ring’s weight, metal’s weight
- “Setting” and “bead setting”
- Setting’s standard chart
- An introduction on “f6”
- Step by step guide on “Eternity Band” with round stone and setting
- Drilling and cutting underneath the stones, gem cutter
- “Prong Builder” and “granulation”
- Step by step guide on “crowned ring design”
- Applying “gem on curve” and placing stones in a line
- Tuning stones in the right direction
- An introduction on “Extract Isocurve” command
- Step by step guide “Solitaire ” ring design
- An introduction on “Gem Loader”
- Gem Positioner -MSR
- Creating ” Solitaire ring design”
- Creating Solitaire setting with “Heads Library”
- Cross section definition
- Step by step guide on “D-Shape Band” ring
- Getting familiar with “SWEEP 1” command
- Creating Profile Placer
- Placing a cap by ” Cap Planar”
- Adding a new profile to ” Profile Library”
- ” Sweep 1″ with one or several profiles
- An introduction on “Sweep 1 History”
- Step by step guide on ” tapered ring” design
- Placing stones in “tapered” or ground plane
- Measuring stones weights with “Gem Reporter”
- Ring designing with ” Channel Builder”
- Designing “diamond loop” pendant
- “Duplicate Edge” definition
- Bow design and ring with “Extrude”
- Chain creation in different length with “object on curve”
- Designing jumping ring
- Bow design with “sweep “command
- Manually creating channel on pendant
- “Dome Band” ring design
- Getting familiar with “Offset Surface” command
- An introduction on “loft” command
- Duplicate Border
- Ring size
- “Setting” and “Prong Setting”
- “Head Builder” command
- “Blue Diamond” ring design step by step
- “Outside Ring Rail” introduction
- An introduction on “SWEEP 2”
- Using “Pull Object to Rail”
- Using “Profile End Cap”
- Step by step guide on “5 Stone Ring” design
- An introduction on “sweep 2 history”
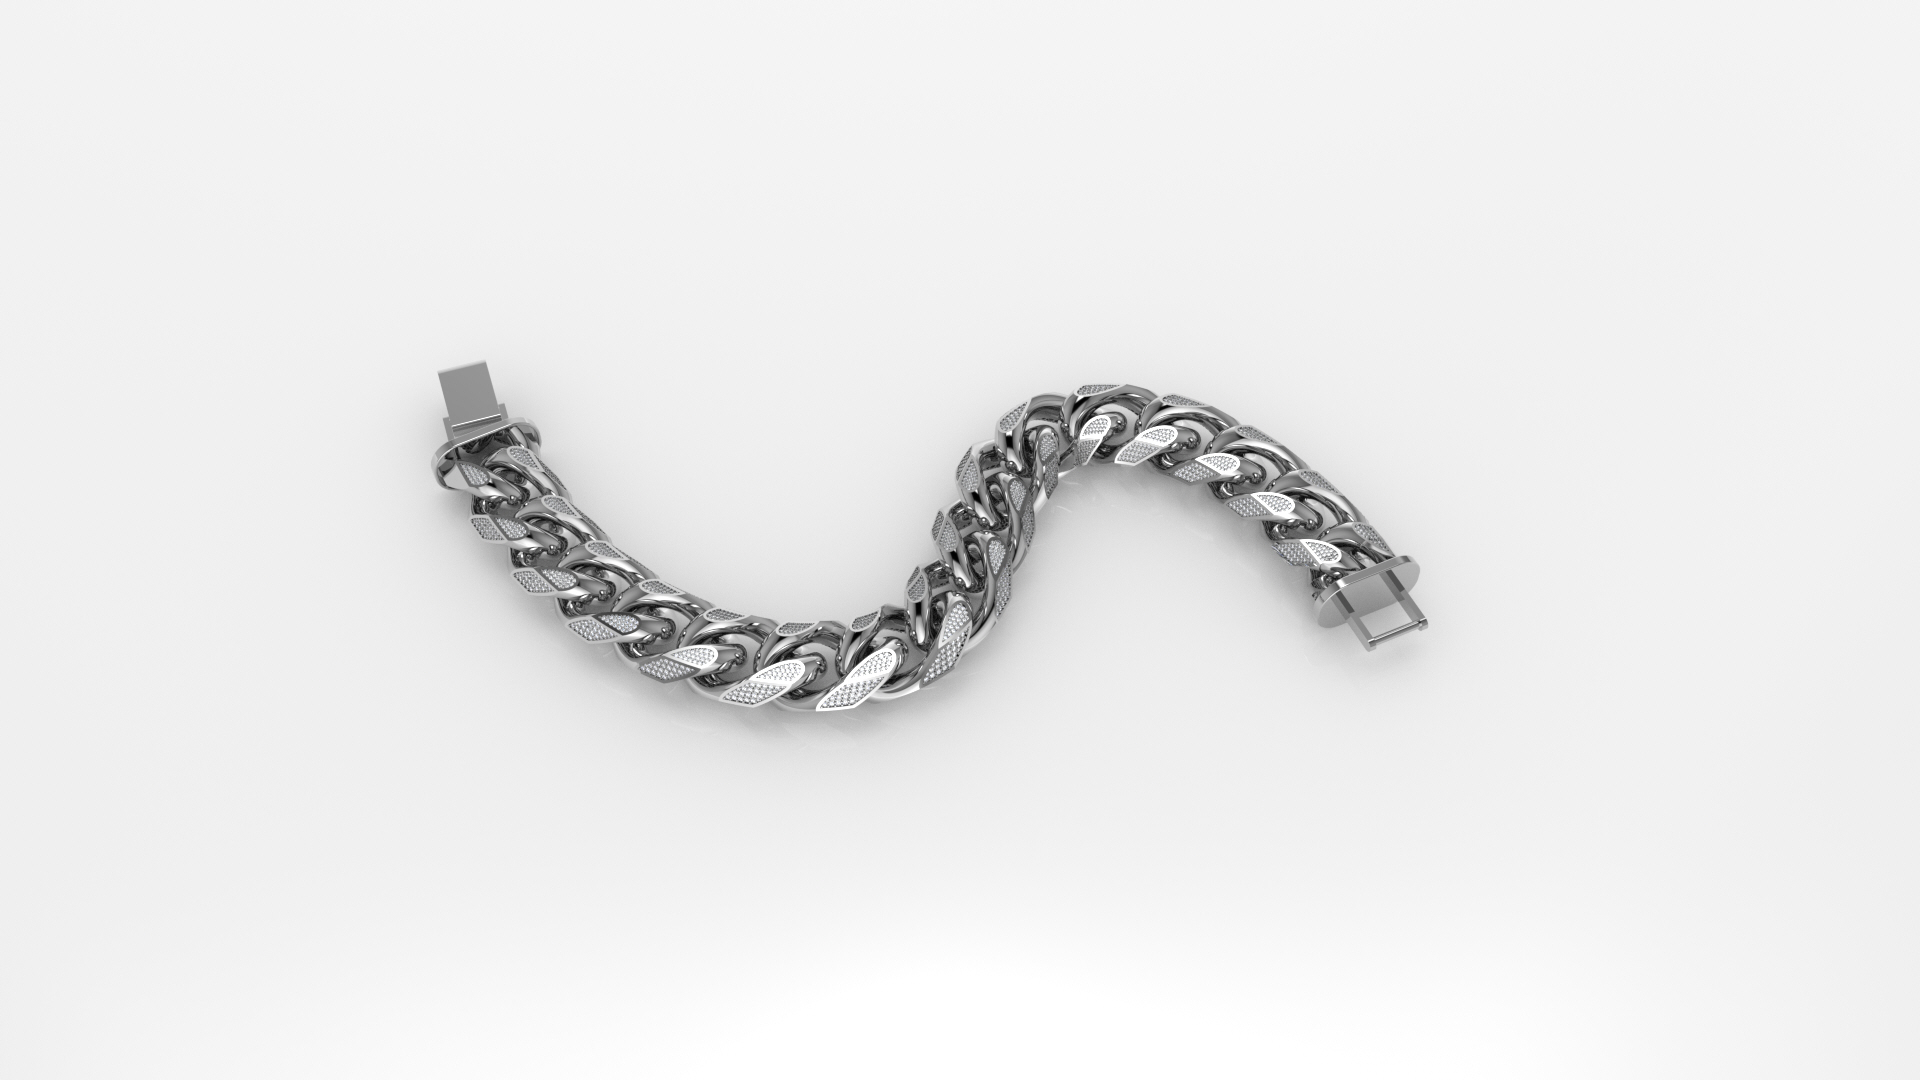
- Step by step guide on “wave band” ring design
- ” Rebuild Curve” definition
- Center Object
- “Setting” and “Bezel Setting”
- Designing by “Bezel Builder”
- Step by step guide on “Big B” ring design
- An introduction on “Pipe” command
- Softening sharp edges by “Fillet Edge”
- Creating granulation by “Bead On Curve”
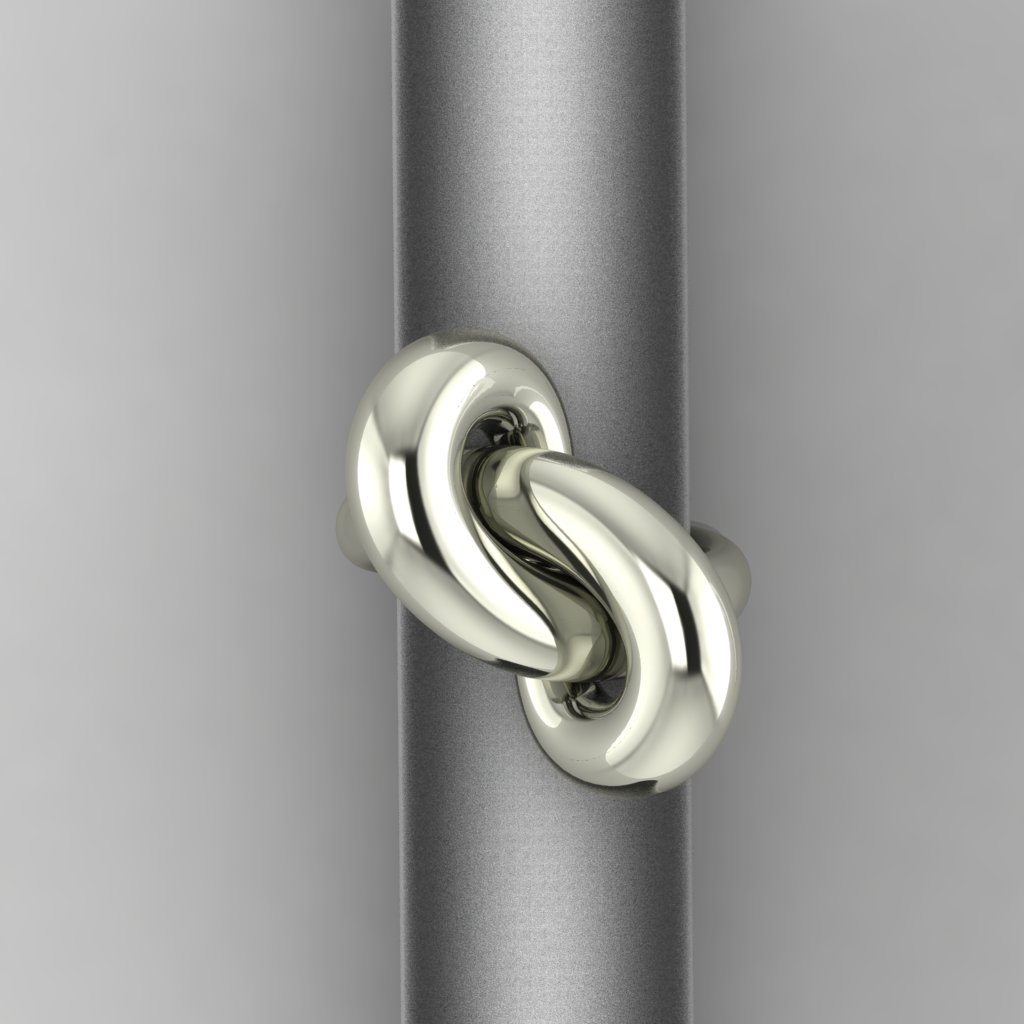
- “Twisted Band” ring design
- Rounding corners with ” Fillet Corners”
- An introduction on ” Rhino History”
- An introduction on “Planar Curve”
- Step by step guide on “Pear Ring” design
- An introduction on ” Gem Profile”
- Setting edit with ” Prong Editor”
- An introduction on “Offset Curve On Surface” tool
- Extract Surface
- Azure Cutter
- Extrude Normal To Surface
- Step by step guide on ” Dome Heart” pendant design
- Stone cabochon with “Blend Surface”
- “Setting” and “Flush Setting”
- Step by step guide on ” Flush Dome ring” pendant design
- Defining “Cage Edit” command
- “Gems On Surface” command
- “Setting” and “Pave setting”
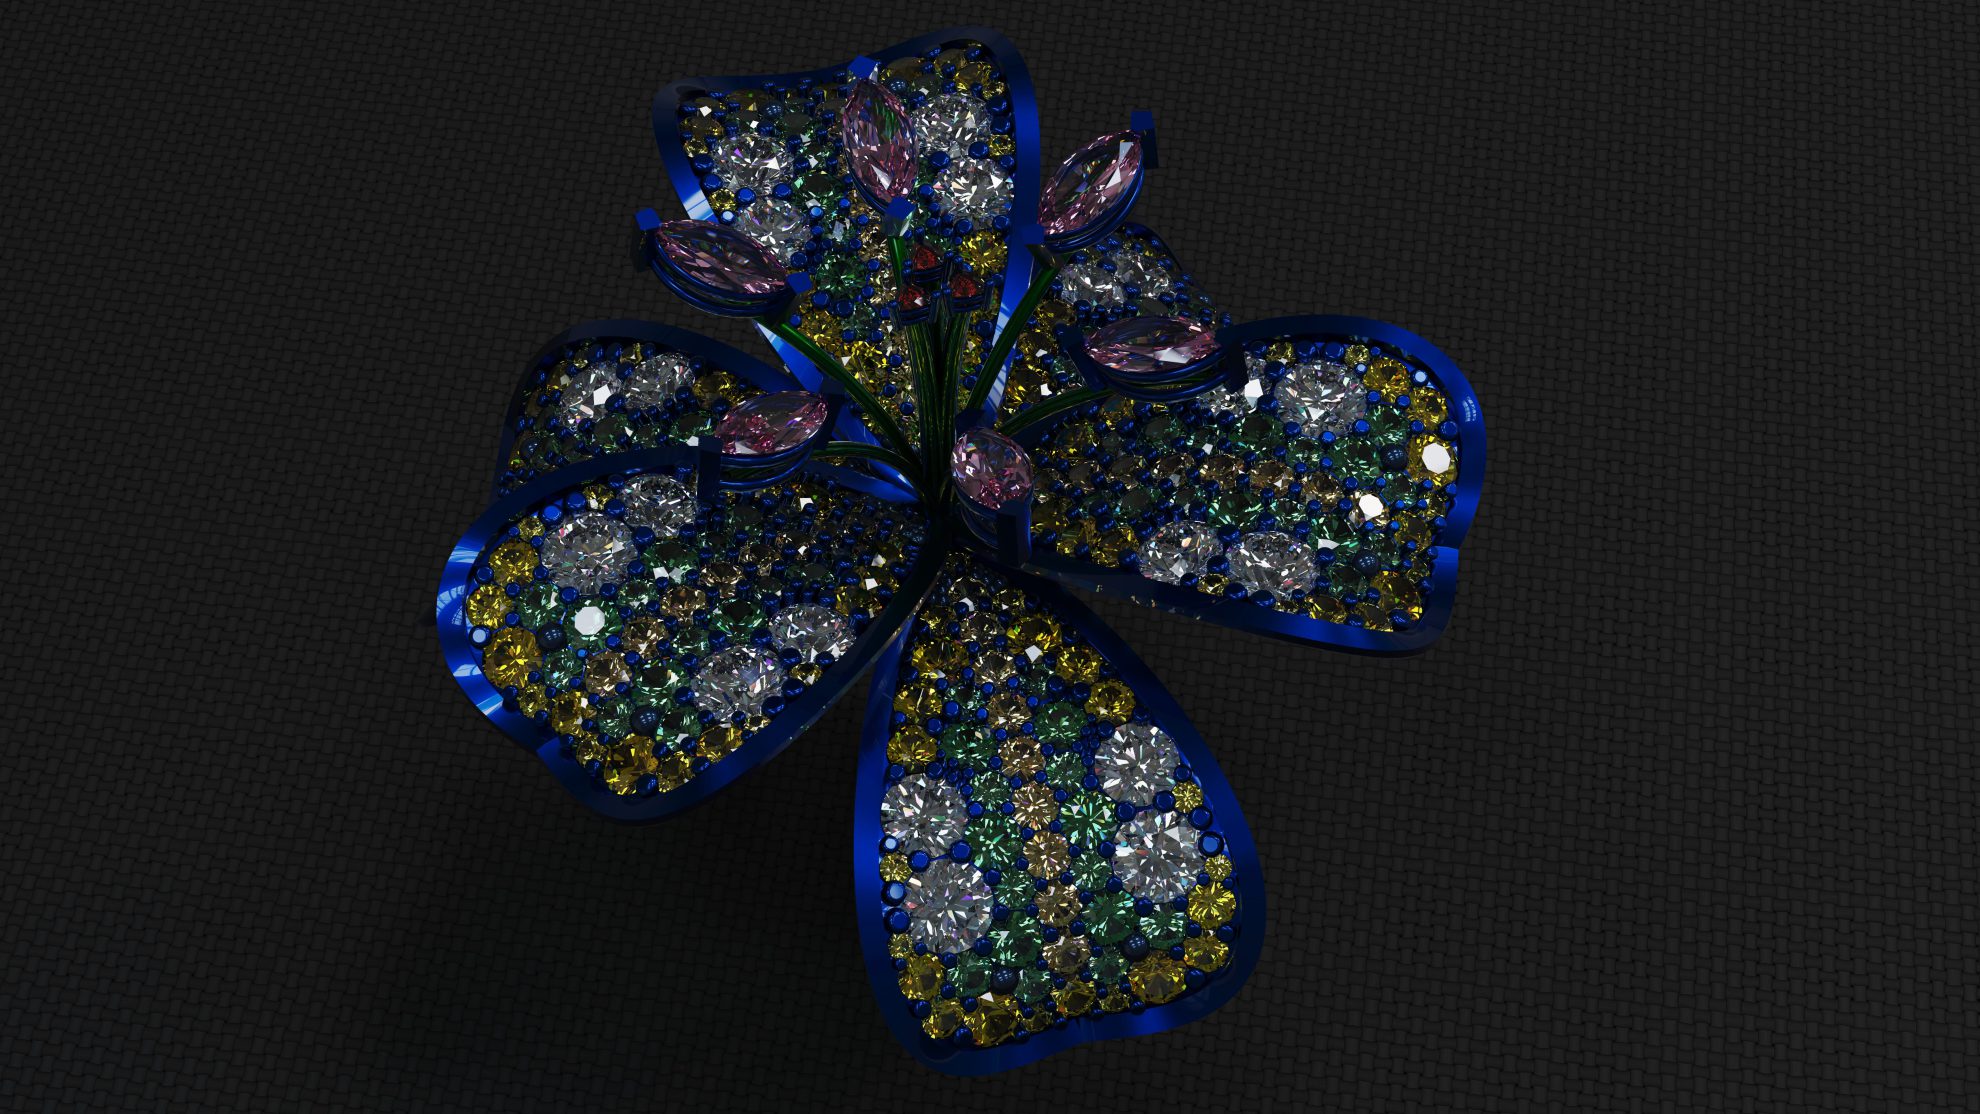
- Step by step guide on “Pave Flower” ring design
- Introducing “Interp Curve On Surface” tool
- Introducing “Prong On surface” command
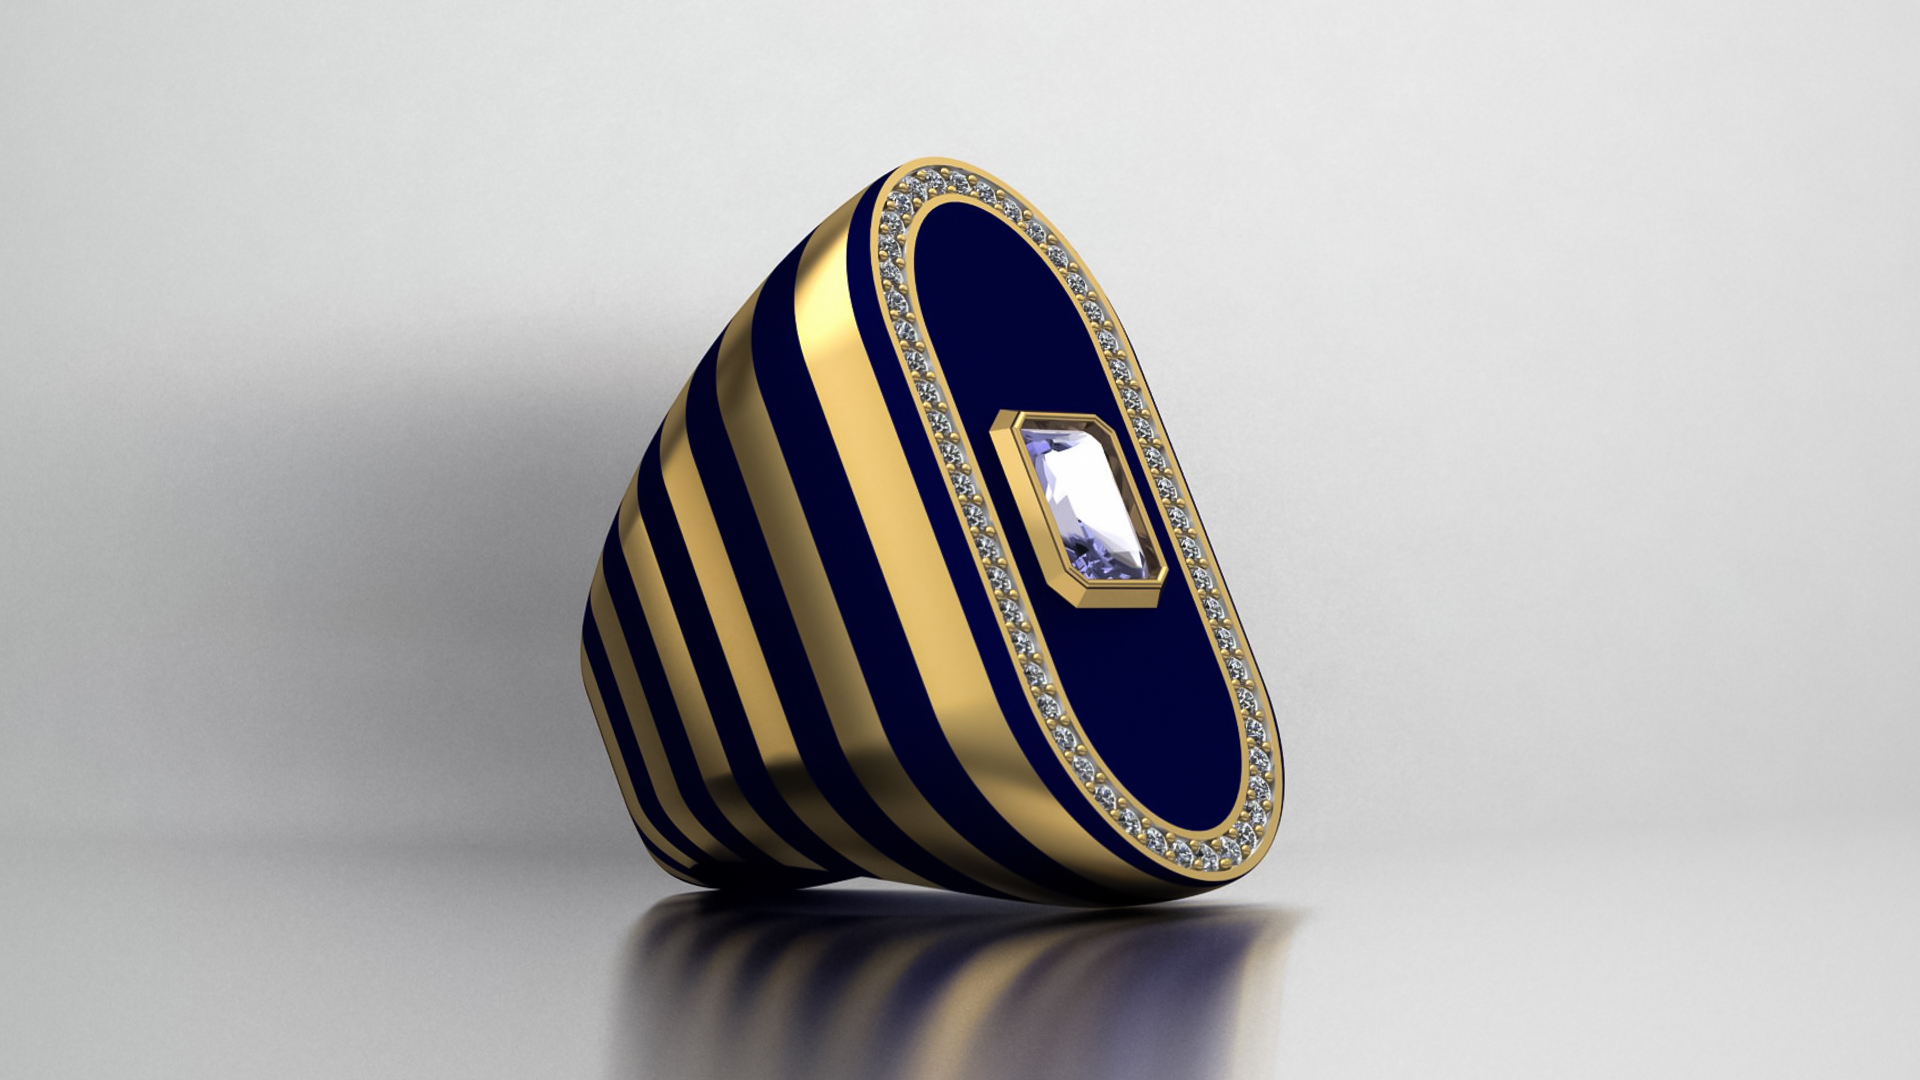
- Step by step guide on “Striped Egg” pendant
- Introducing “Array” tool
- “Intersection” command
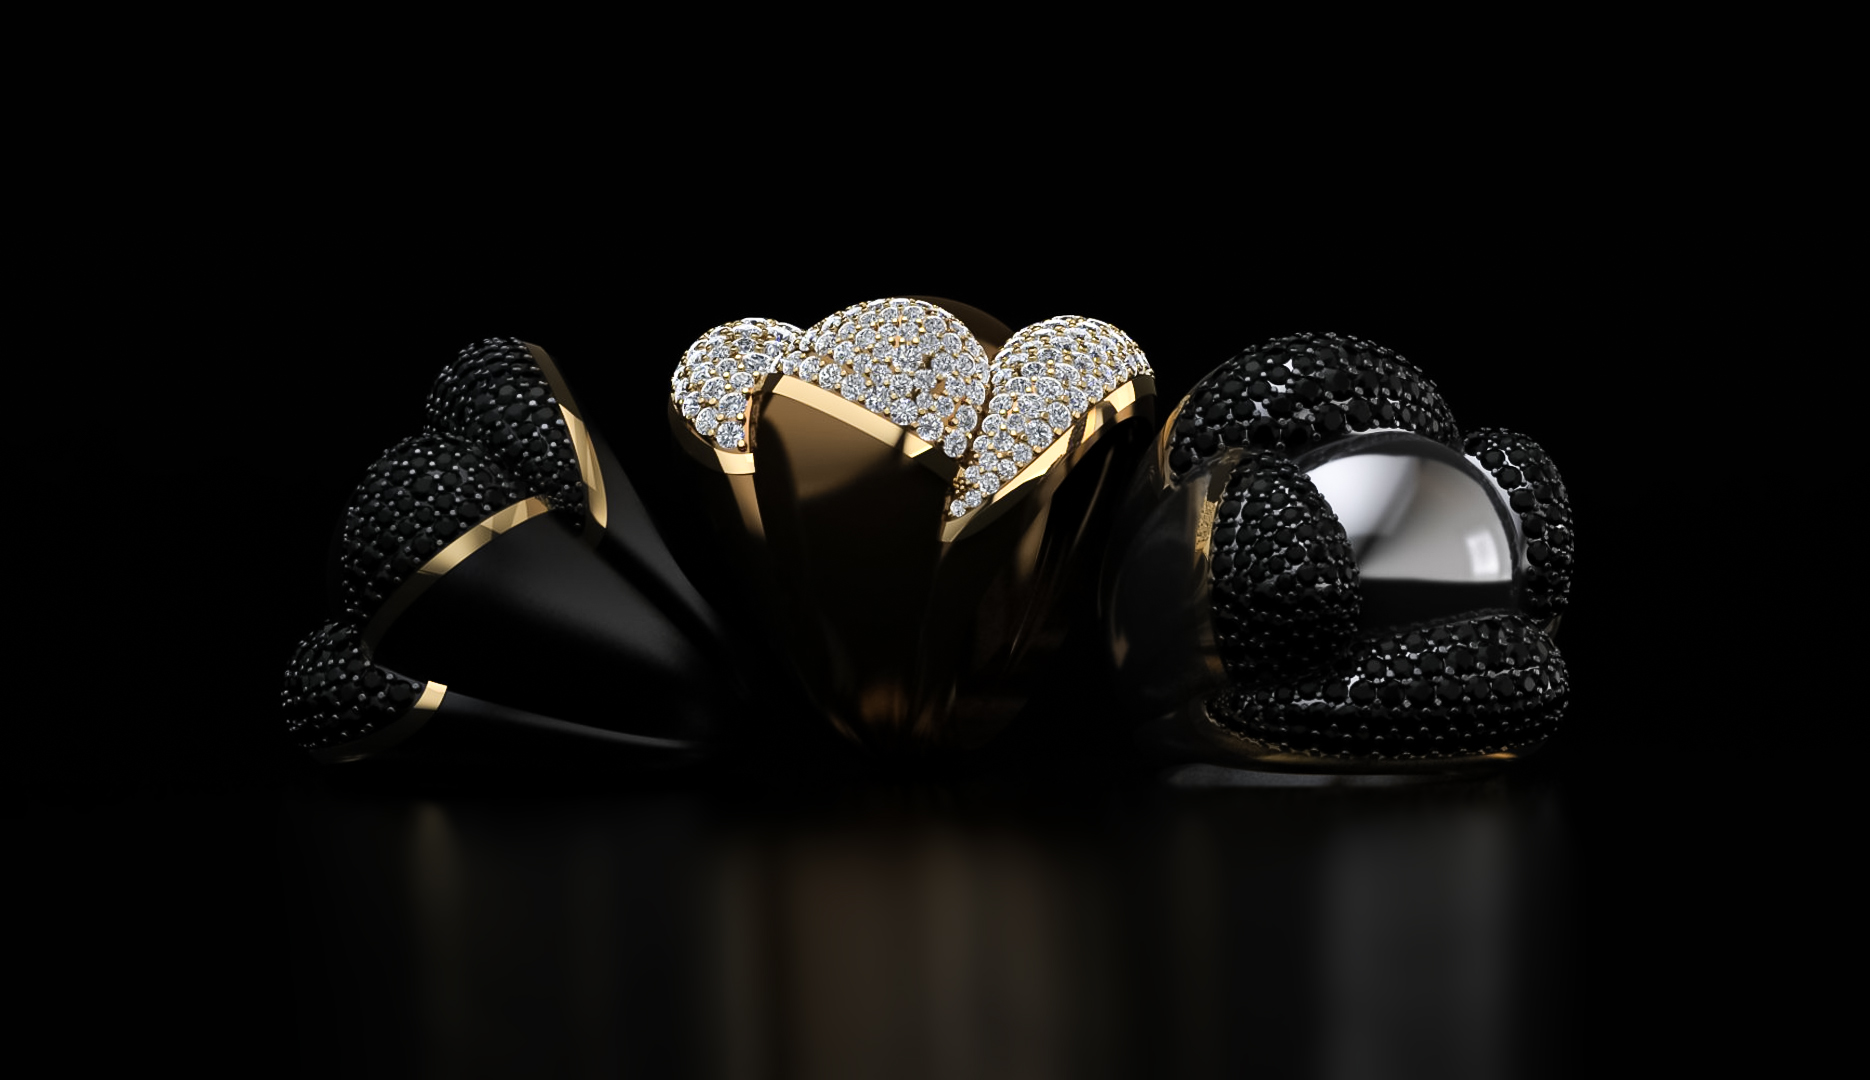
- An introduction on rendering and its importance in gold and jewelry design
- An introduction with “Vray Styles”
- An introduction on main parts of “Vray Styles”
- Rendering “STYLES”
- Materials settings
- Creating texture on different surfaces
- Metal materials
- Stones lighting amount
- Ground plane material
- Picture size and Resolution
- “Render” command
- Demonstrating latest render
- Creating a “render reference” file
- Tips and techniques for an easy and good render
About the Instructor

ِCEO & Instructor
- Founder and CEO of Mortazavi Design Academy.
- Design director of MDA jewelry design team.
- Former Design director and concept designer of RHYTON’s design team
- Jewelry design certificate from GIA, Florence, Italy in 2010.
- Accredited jewelry professional – AJP certificate from GIA, USA, 2014.
- Speaker in first, second and third jewelry designer forum in middle east- 2015, 2018, 2019 & UAE.
- Merit Award winner from International Jewellery Design Excellence Award 2011 competition in Hong Kong.
- Winner of 11 Jewelry design awards from the A`Design awards in Como-ITALY , 2011-2012-2013-2014-2016
- Winner of two awards, “Merit” and “Distinction” from the International Jewellery Design Excellence Award 2015 – Hong Kong.
- 7 Jury membership world wide including, Thailand, ITALY, IRAN AND UAE

CAD Instructor
- BA. in sculpture from University of Tehran
- MA. In Art research from University of Tehran
- Collaboration with the Iranian Sculptors Association
- Holder of Jewelry Design coaching degree from a Technical and Professional Organization
- CAD Jewelry design instructor at University of Applied science of Jewelry Union of Tehran
- Member of Mortazavi Academy Teachers Team
- English & Persian instructor of jewelry design with computer at MDA
- English & Persian instructor of jewelry Rendering at MDA
- Software knowledge :
Rhinoceros
Gemvision Matrix
Zbrush
Blender
Keyshot
Solid works visualize
Materilise Magics
Adobe Photoshop
Adobe InDesign
Adobe After Effects
SubD Plugin
FAQ's
This course is suitable for those who are interested in learning a new career, especially those who studied industrial design, architecture, art and painting. Those whom their field of study has nothing to do with designing but can operate a computer and handle ordinary tasks in the Windows operating system can attend these courses and learn this profession quite easily as well.
Those who are not familiar with computers and the Windows operating system, or do not have a high-school diploma would not be eligible to attend these courses.
Designing is the first step in production. Design and production with computer has become very popular inn the recent years due to there ease of operation, faster production and lower costs.
This has caused the 3D printers to become very popular and everyone who owns a 3D printer needs a CAD designer to design 3D jewelry models for print. 3D printers were quite slow in the past. For instance, if someone owned a 3D printer, they needed only two CAD designers to keep their printer running. Today each modern 3D printer can handle up to 10 designers to keep running. This is why job openings are increasing for 3D jewelry designers more
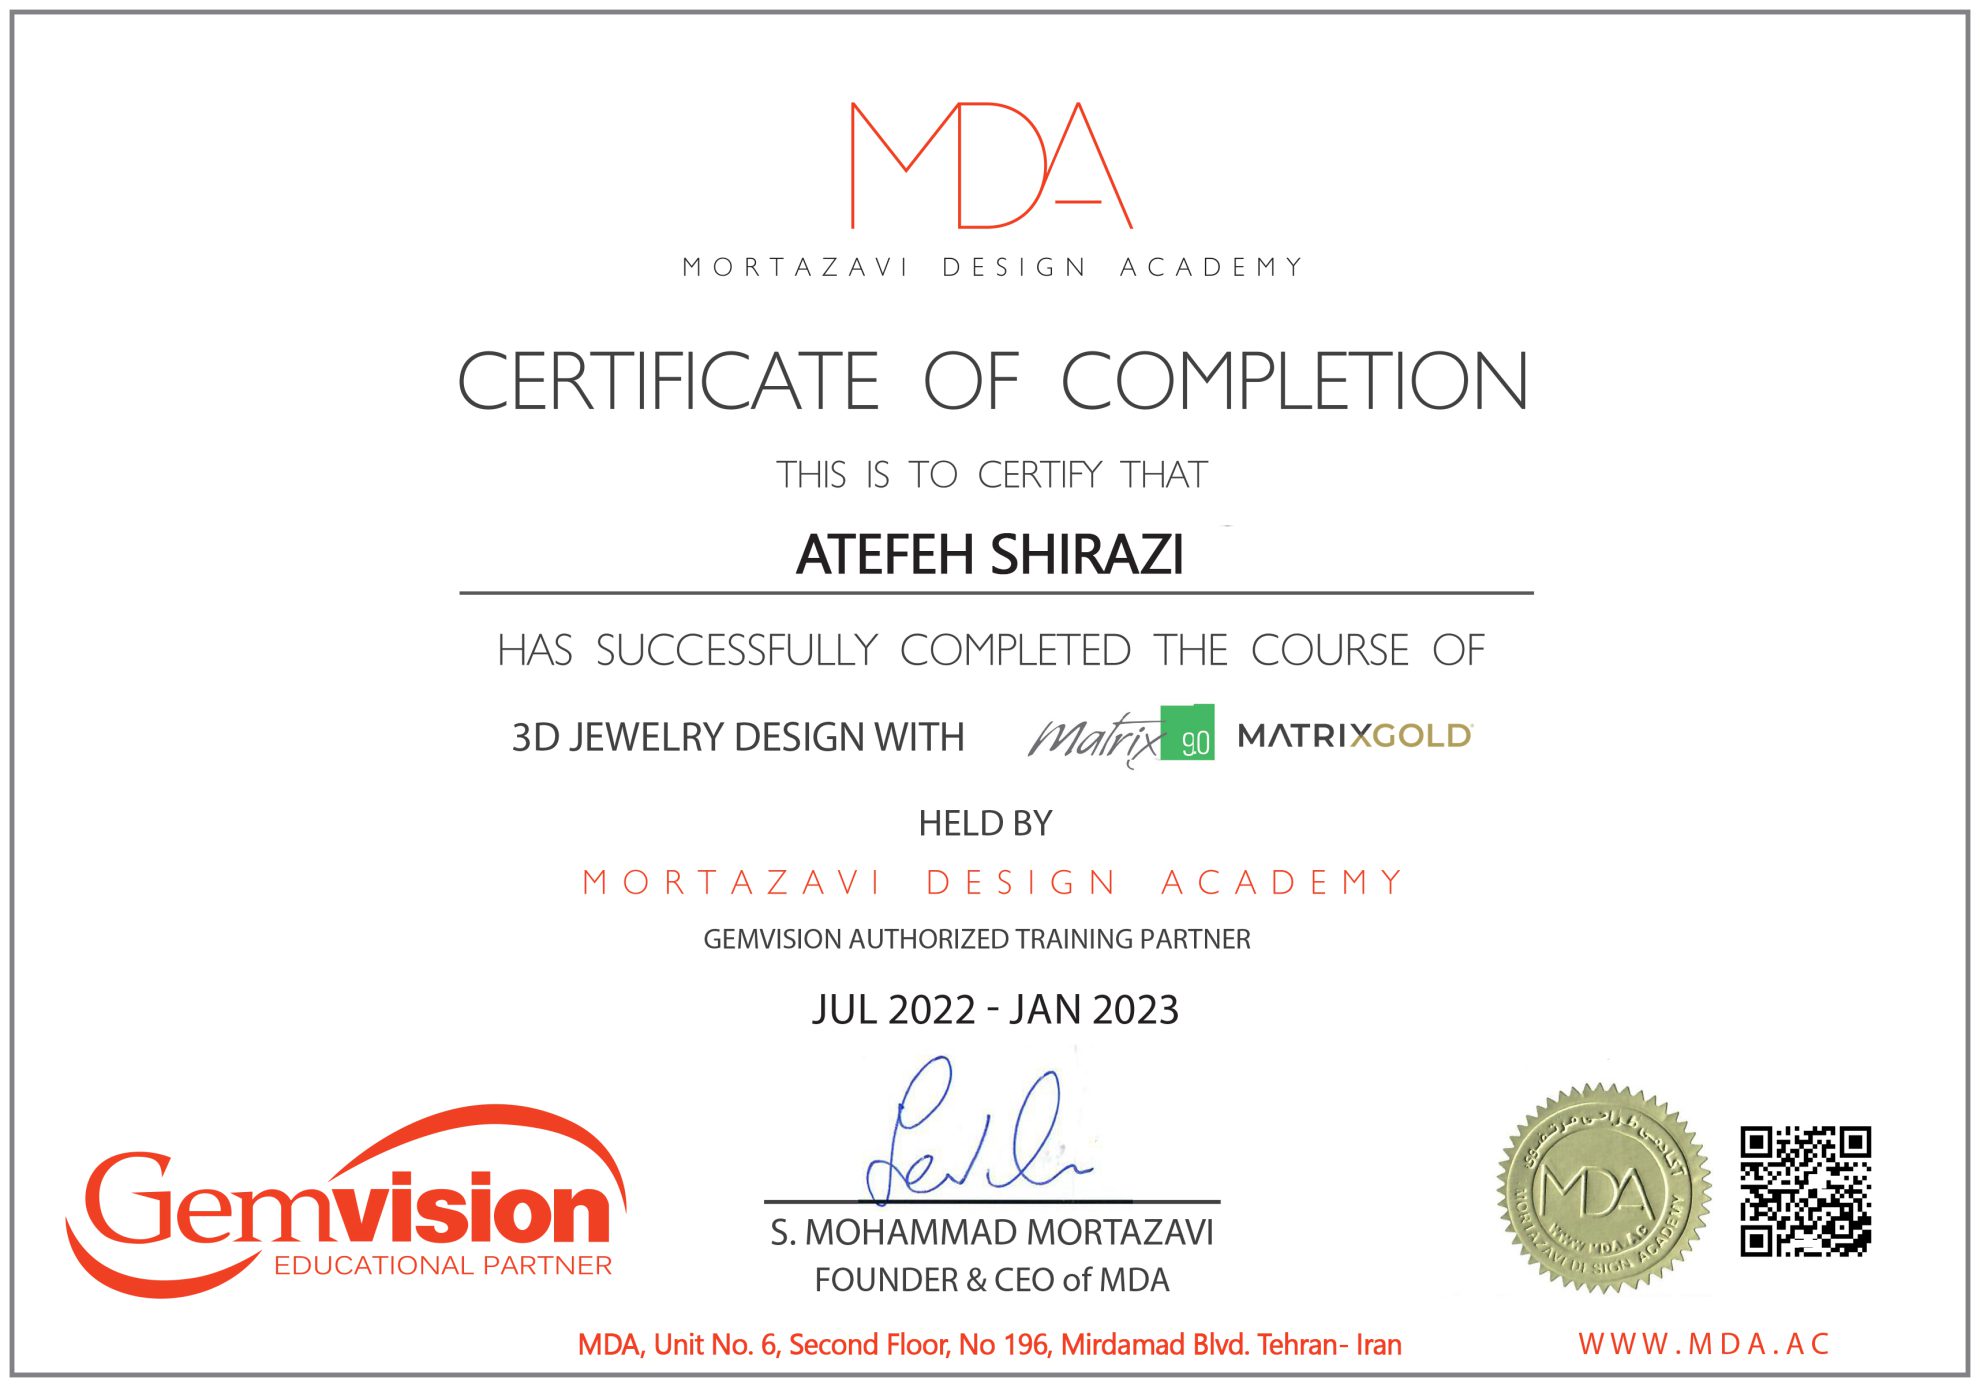
Certificate of Completion
Students will be awarded a “Certificate of Completion” by the academy upon their completion of the course.
This certificate is embedded with a unique QR code that presents the details and authenticity of the certificate when scanned.
The certificate will be posted after process within 3 weeks of your course final.